

How to create an Ethereum wallet with Metamask
The advice provided on cryptocurrency and/or bitcoin trading is for informational and educational purposes only and does not constitute financial advice or investment recommendations. The cryptocurrency market, including bitcoin, is highly volatile and poses significant risks. Any investment decision or transaction made based on the provided information is the sole responsibility of the user. We strongly recommend conducting thorough research, consulting professional financial advisors, and considering your own financial situation and risk tolerance before engaging in any cryptocurrency and/or bitcoin-related activities. We are not responsible for any loss or damage resulting from the misuse of the provided information.
—————————–
Creating an Ethereum wallet is easier than it seems. If you follow this tutorial step by step and do it in a secure environment, you will have your wallet ready in a snap of a finger.
In order to do this, we will employ Metamask to generate our ethereum wallet, downloading it, if possible, via the Brave web browser.
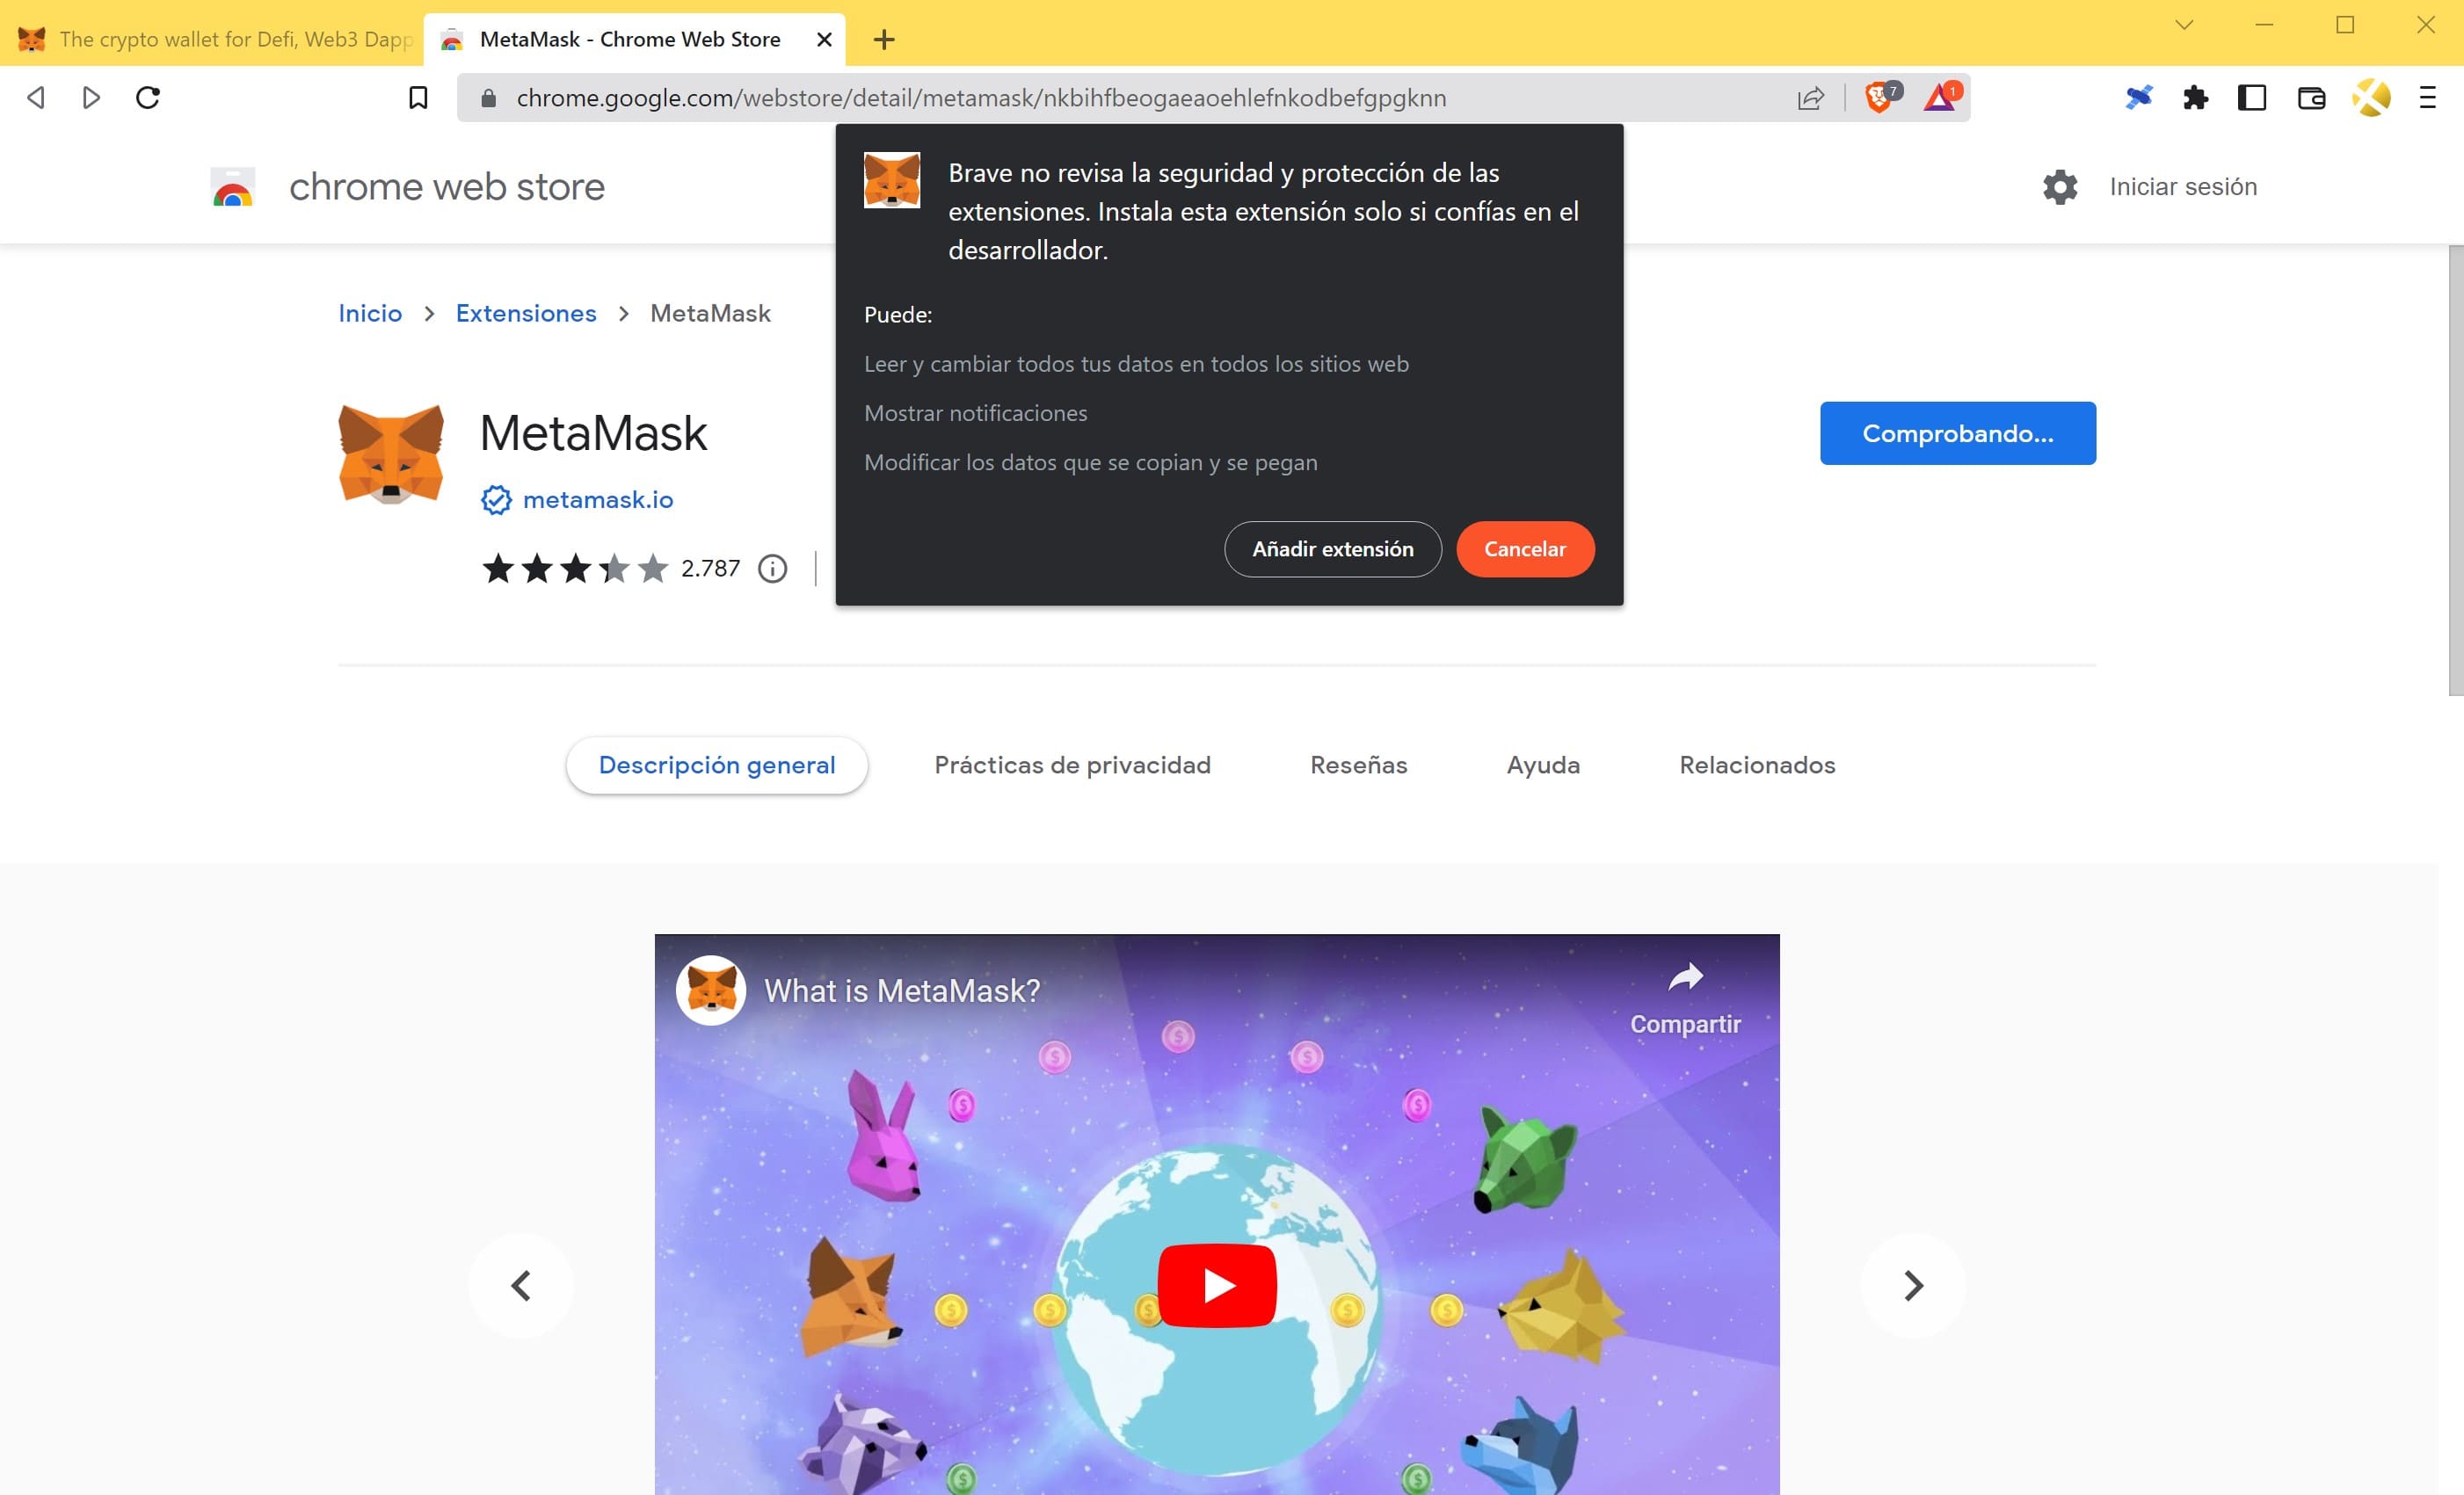
First, go to metamask.io and select the button Download in the upper right corner of the website. This will take you to the download page, in which you can install the Metamask browser extension for your web browser.
A warning message will appear. Click on “Add extension”
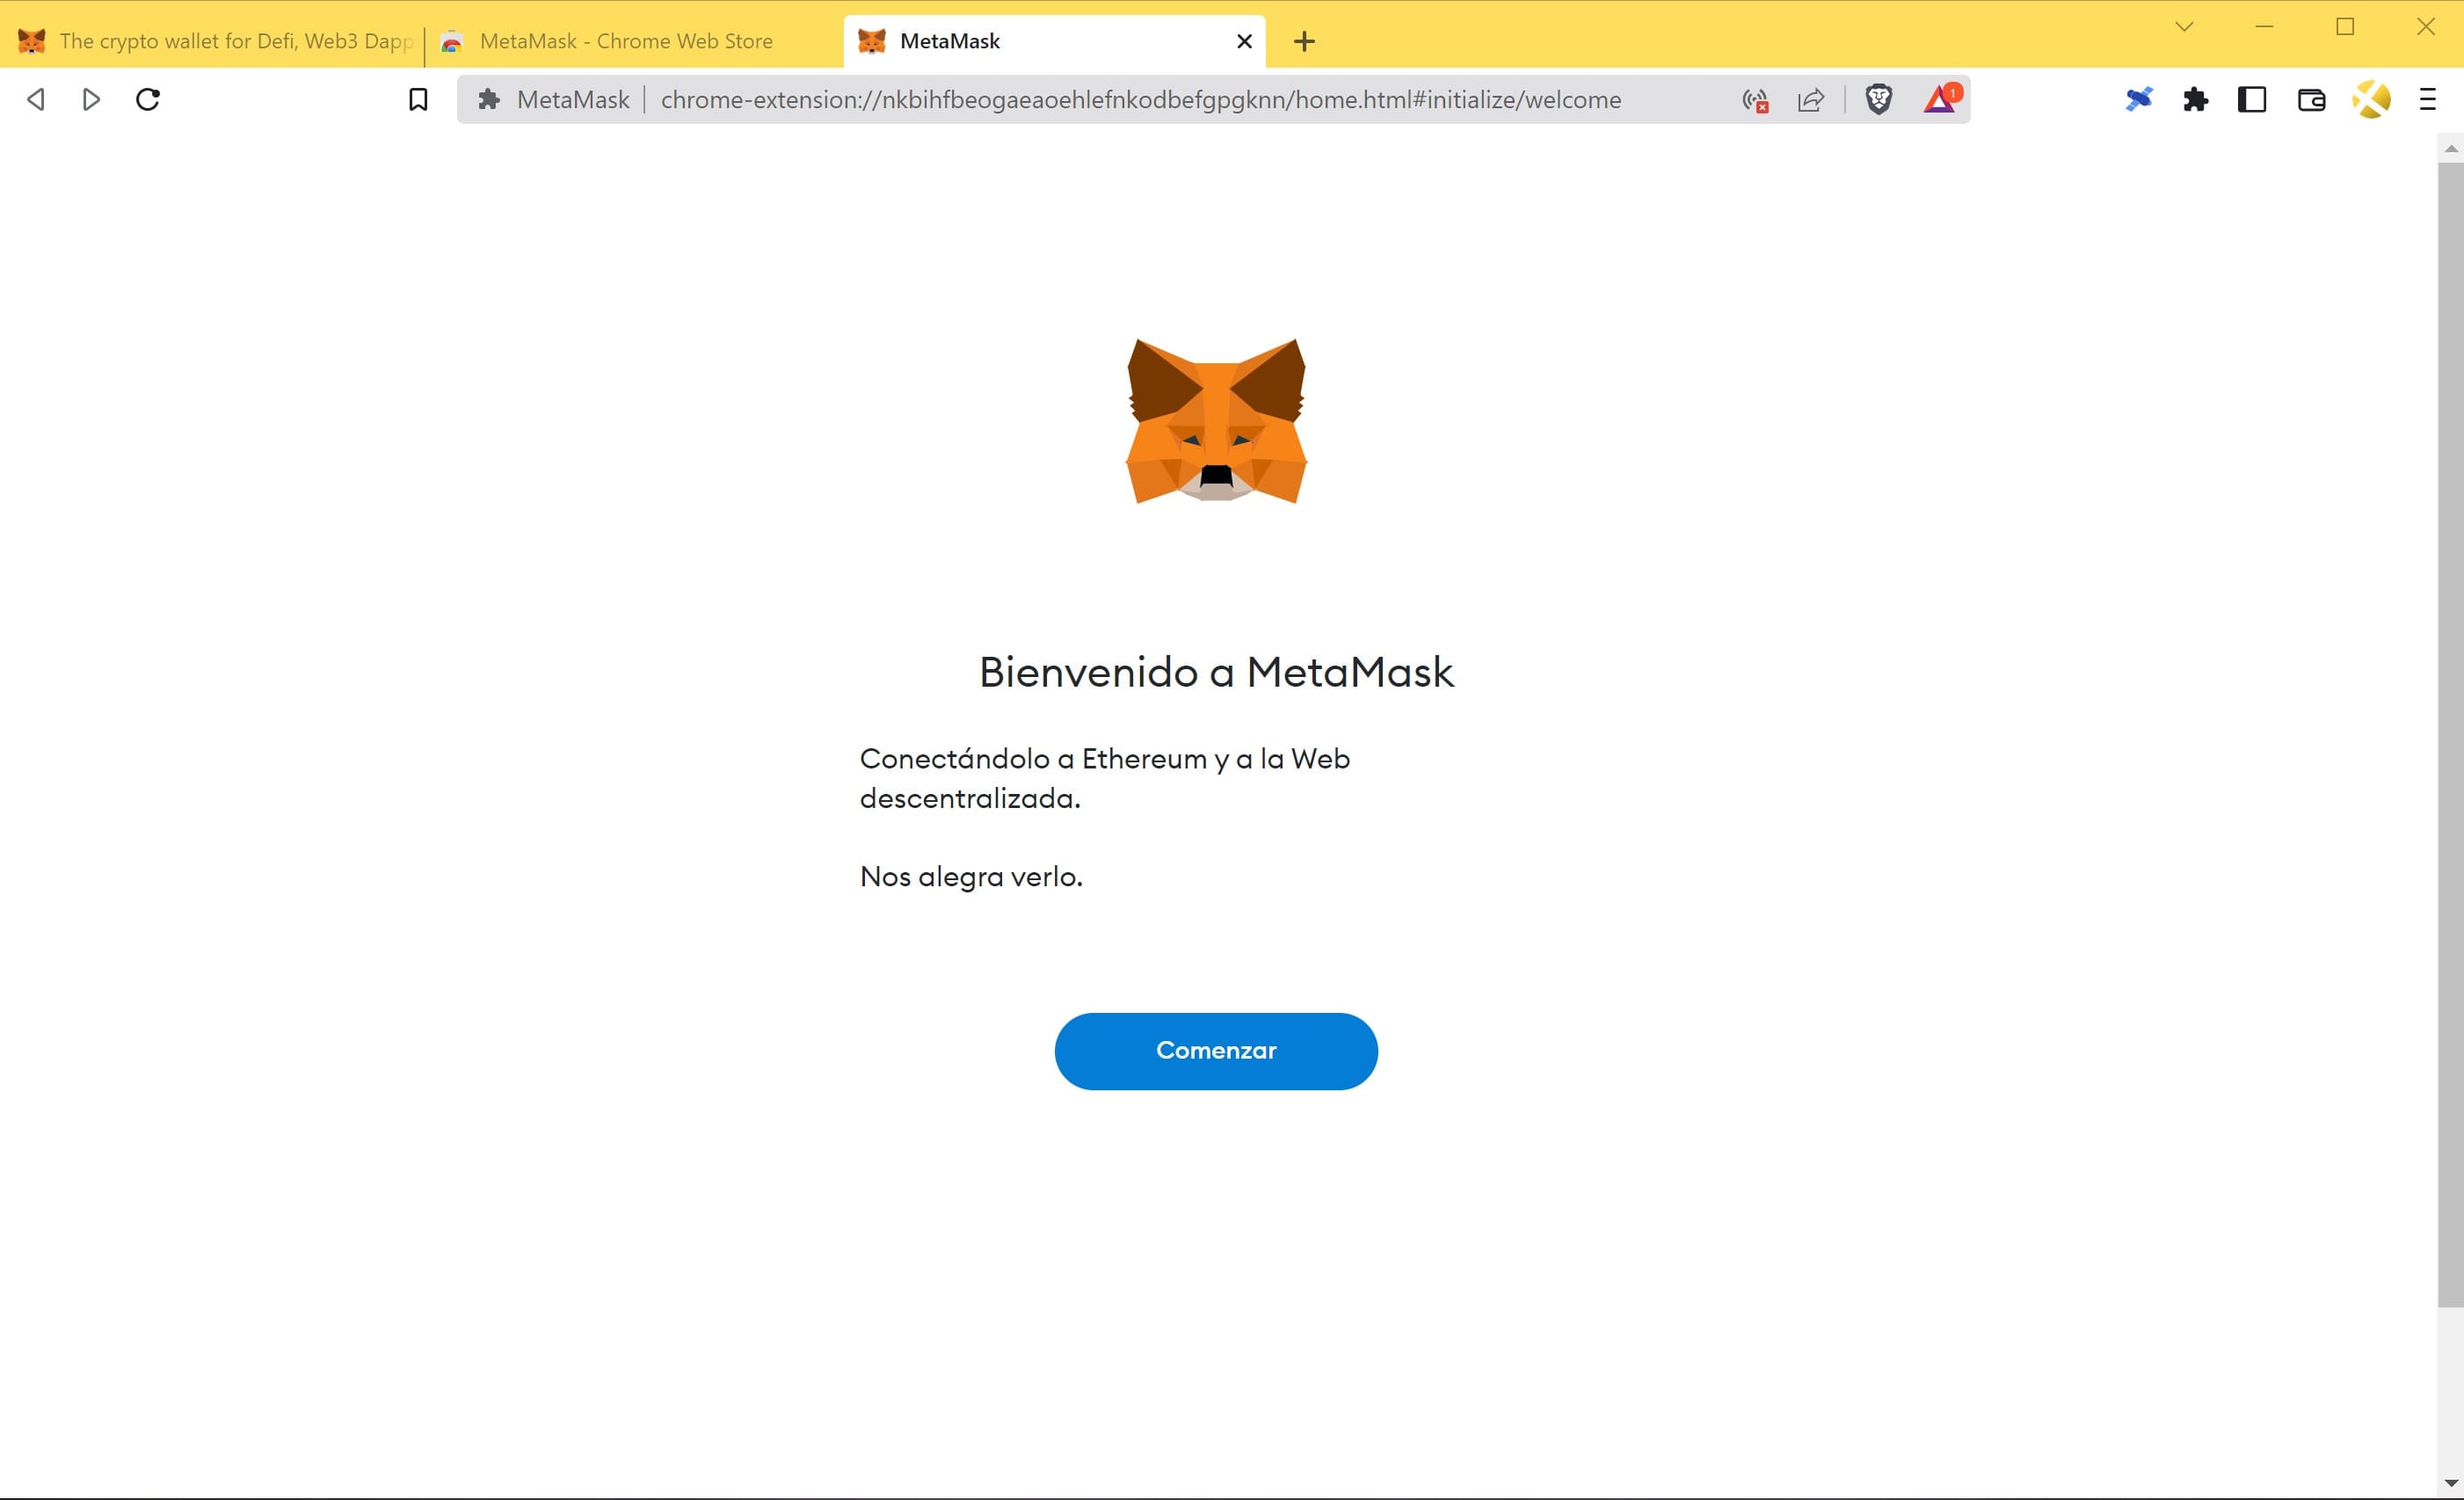
After installation, a new window automatically opens and allows you to start the installation process.
Important: Once this window appears, disconnect your device from the Internet, even if you are in a safe environment. Unplug the ethernet wire from your computer, turn off wifi on your laptop or turn off the router, your choice.
Now the Start button will appear. Click on it and let’s start!
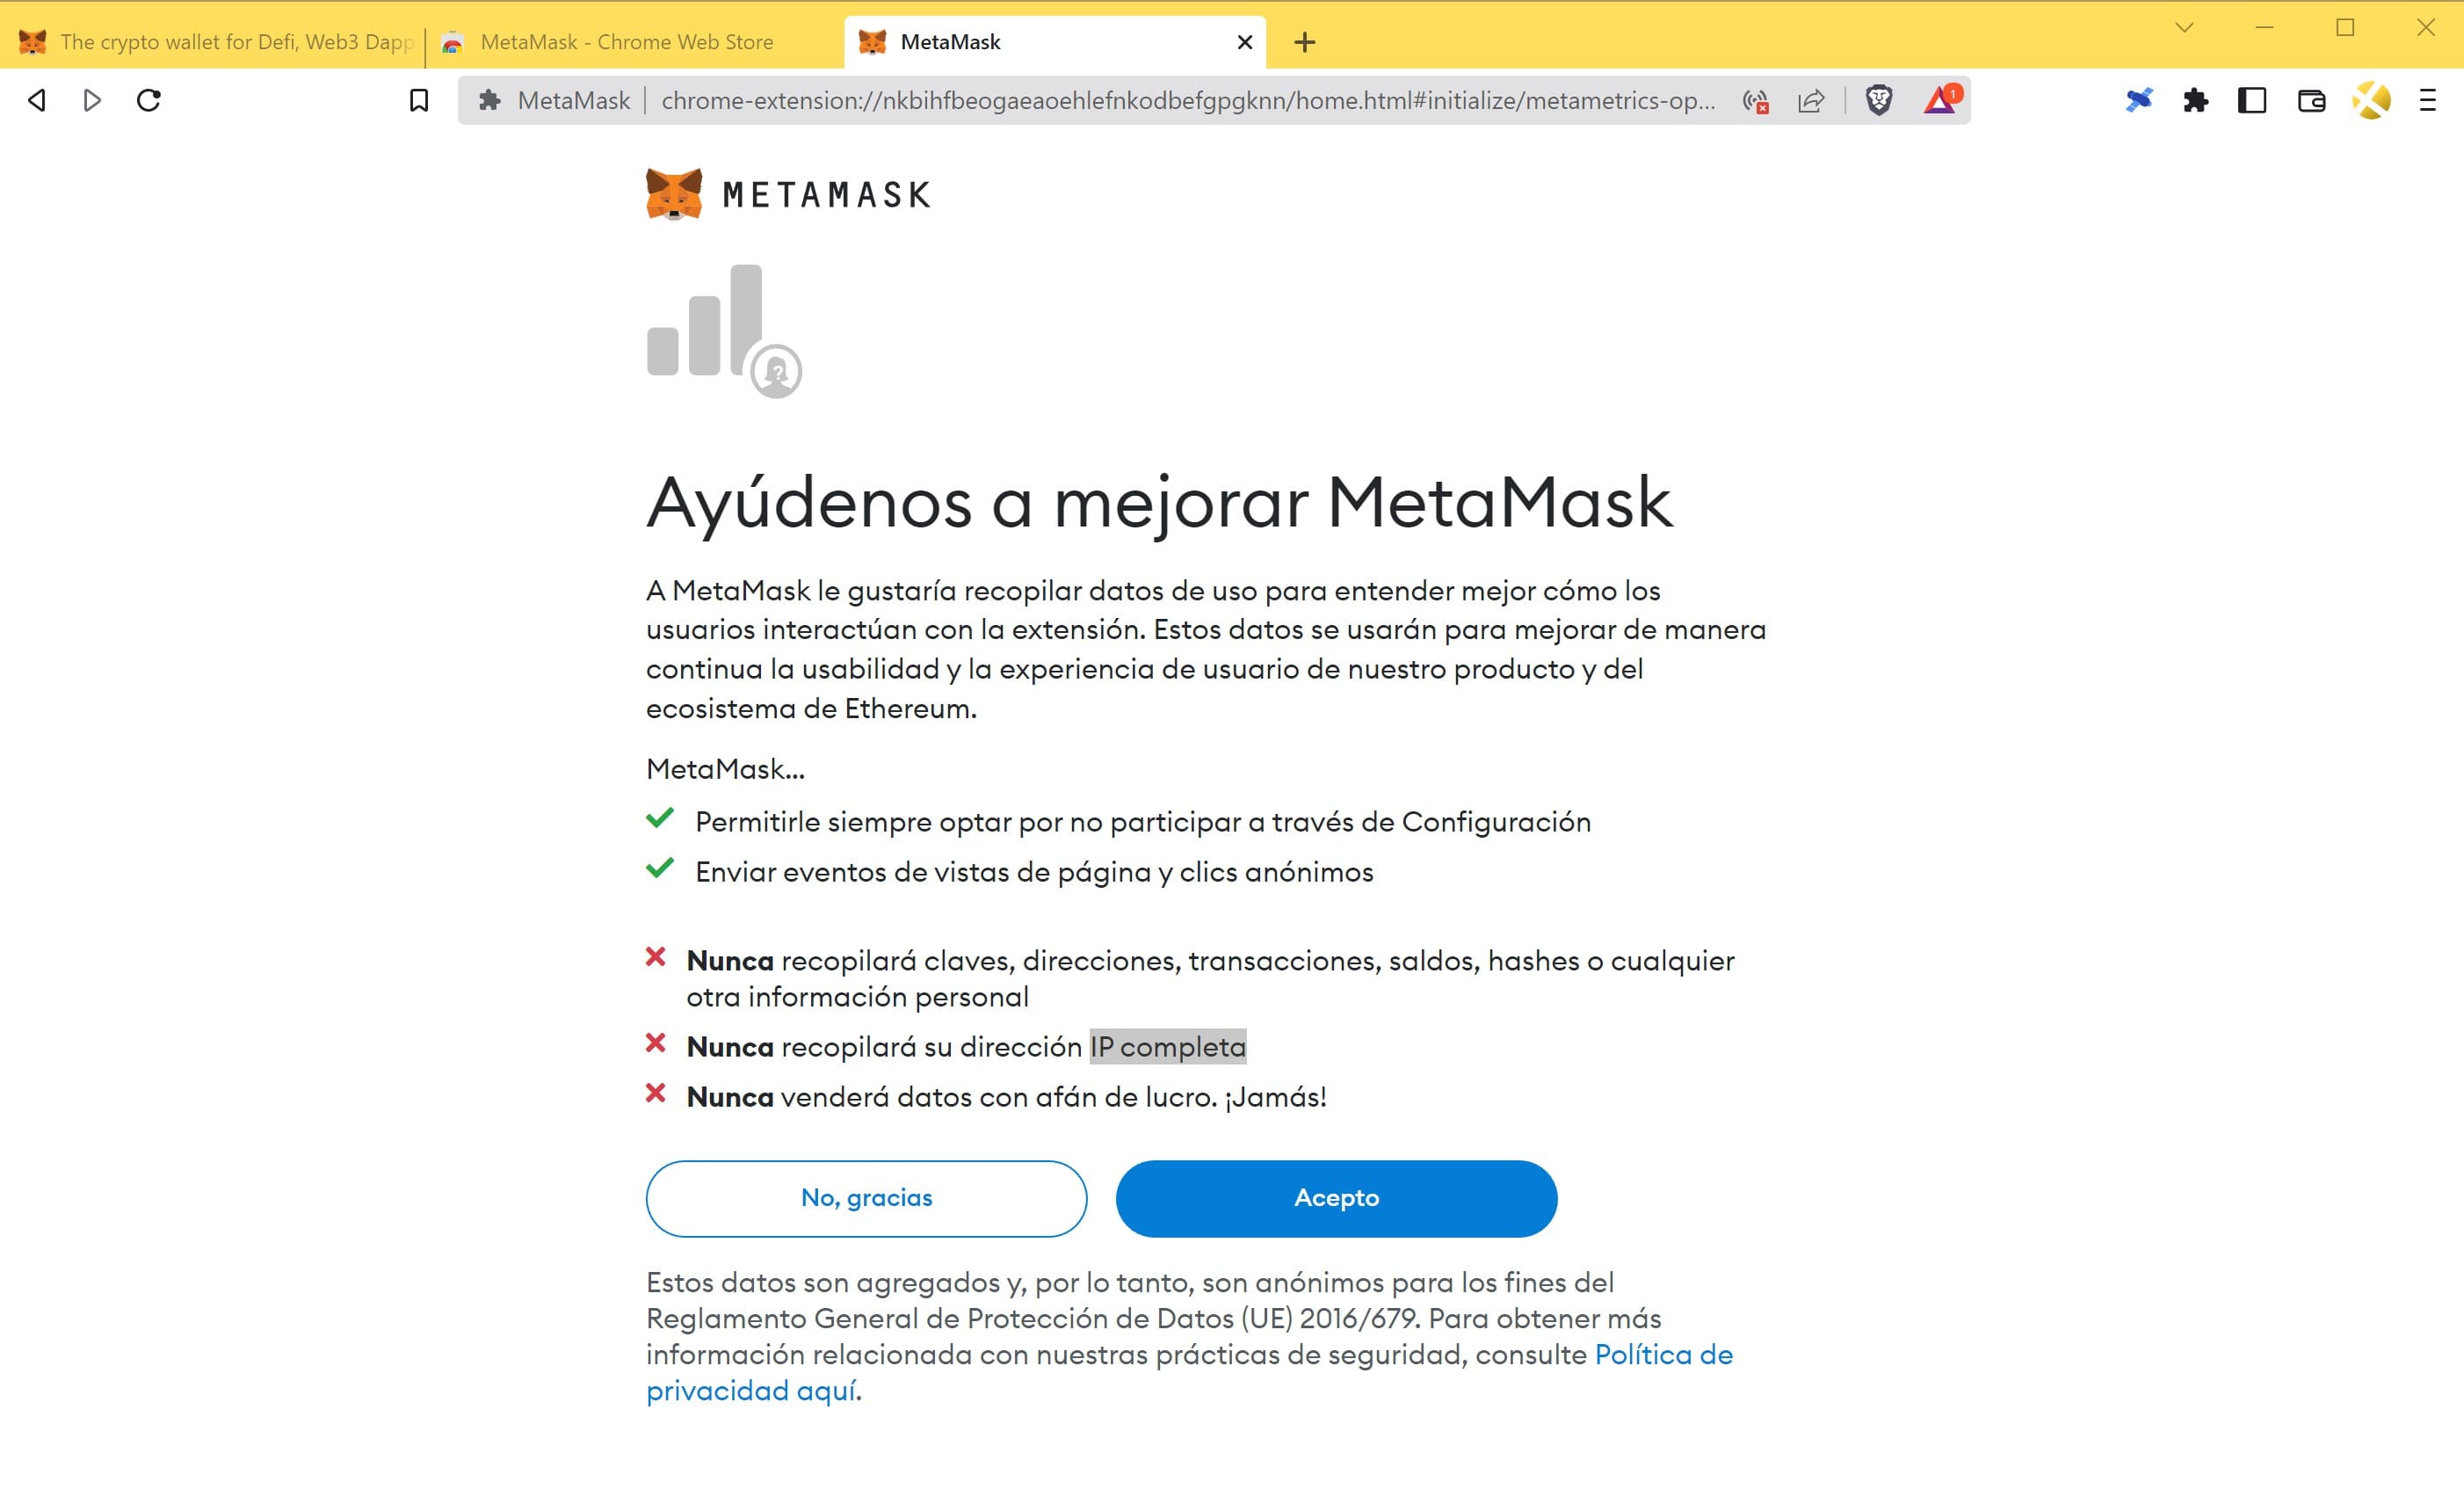
Step 0: You will be asked to agree and provide basic data..
Click “No, thank you“.
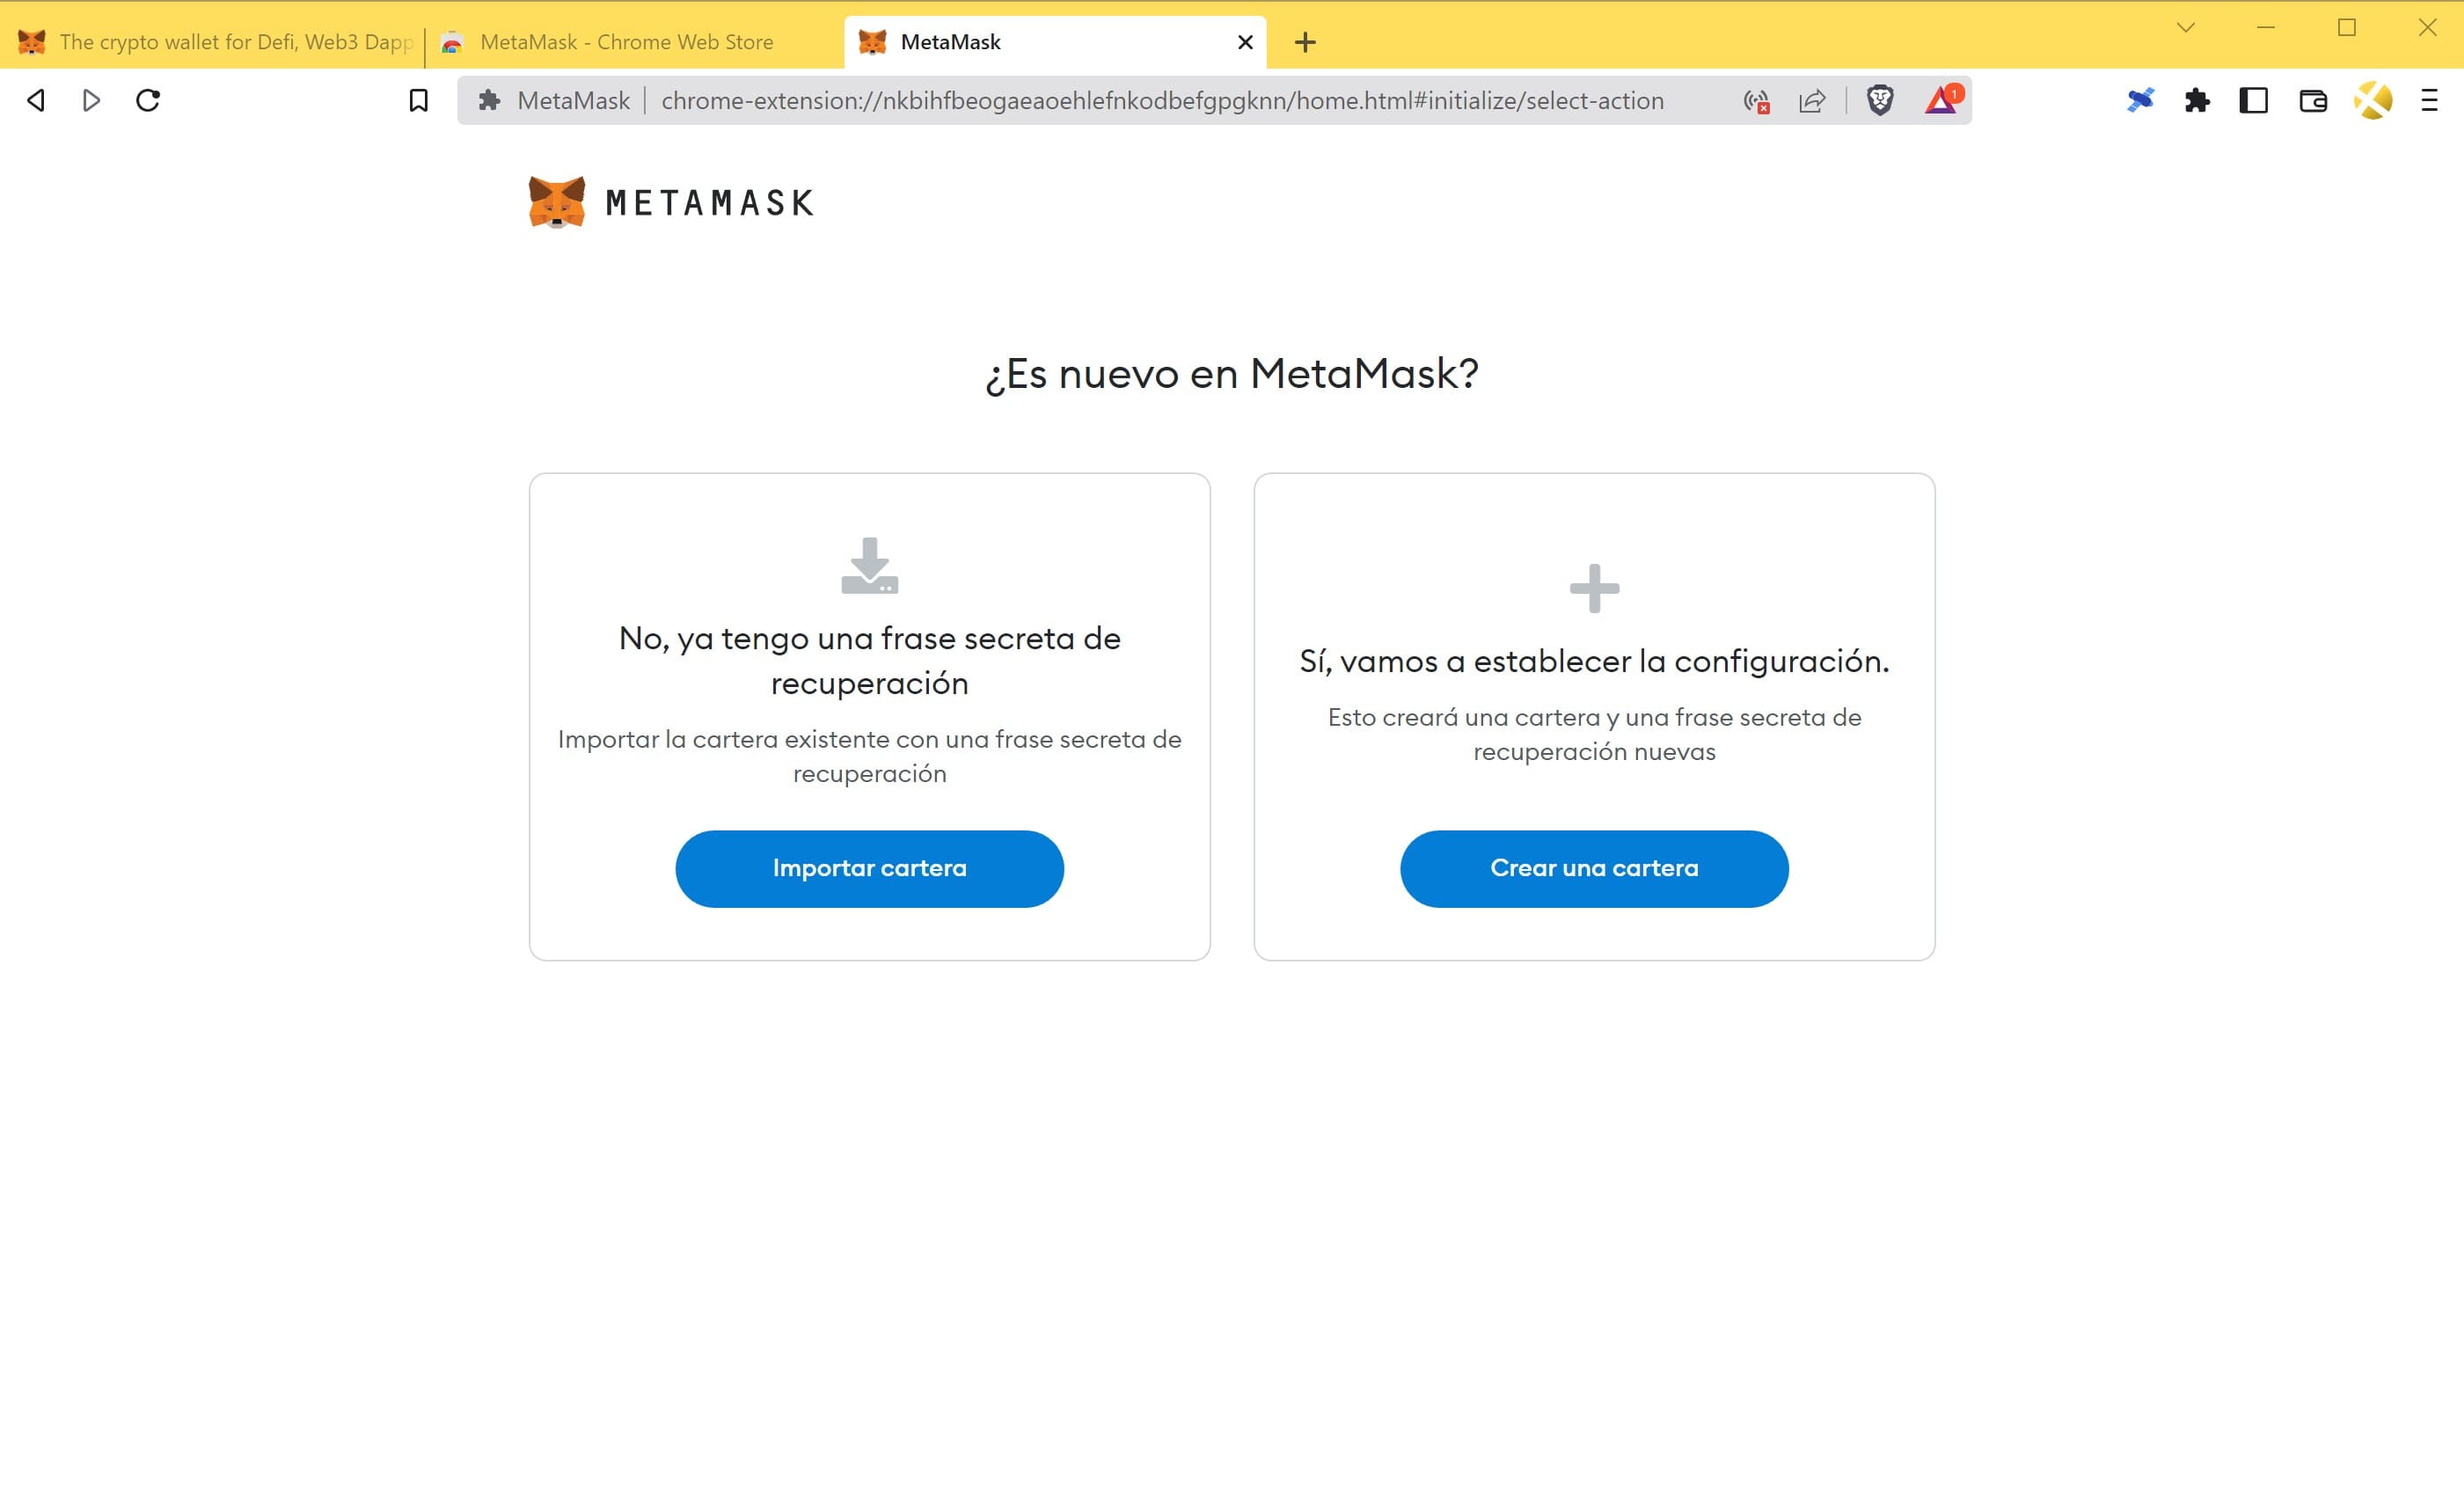
Step 1: You will be asked if you are new to Metamask. Let’s hit “Yes, let’s set up settings” on the “Create a wallet” button.
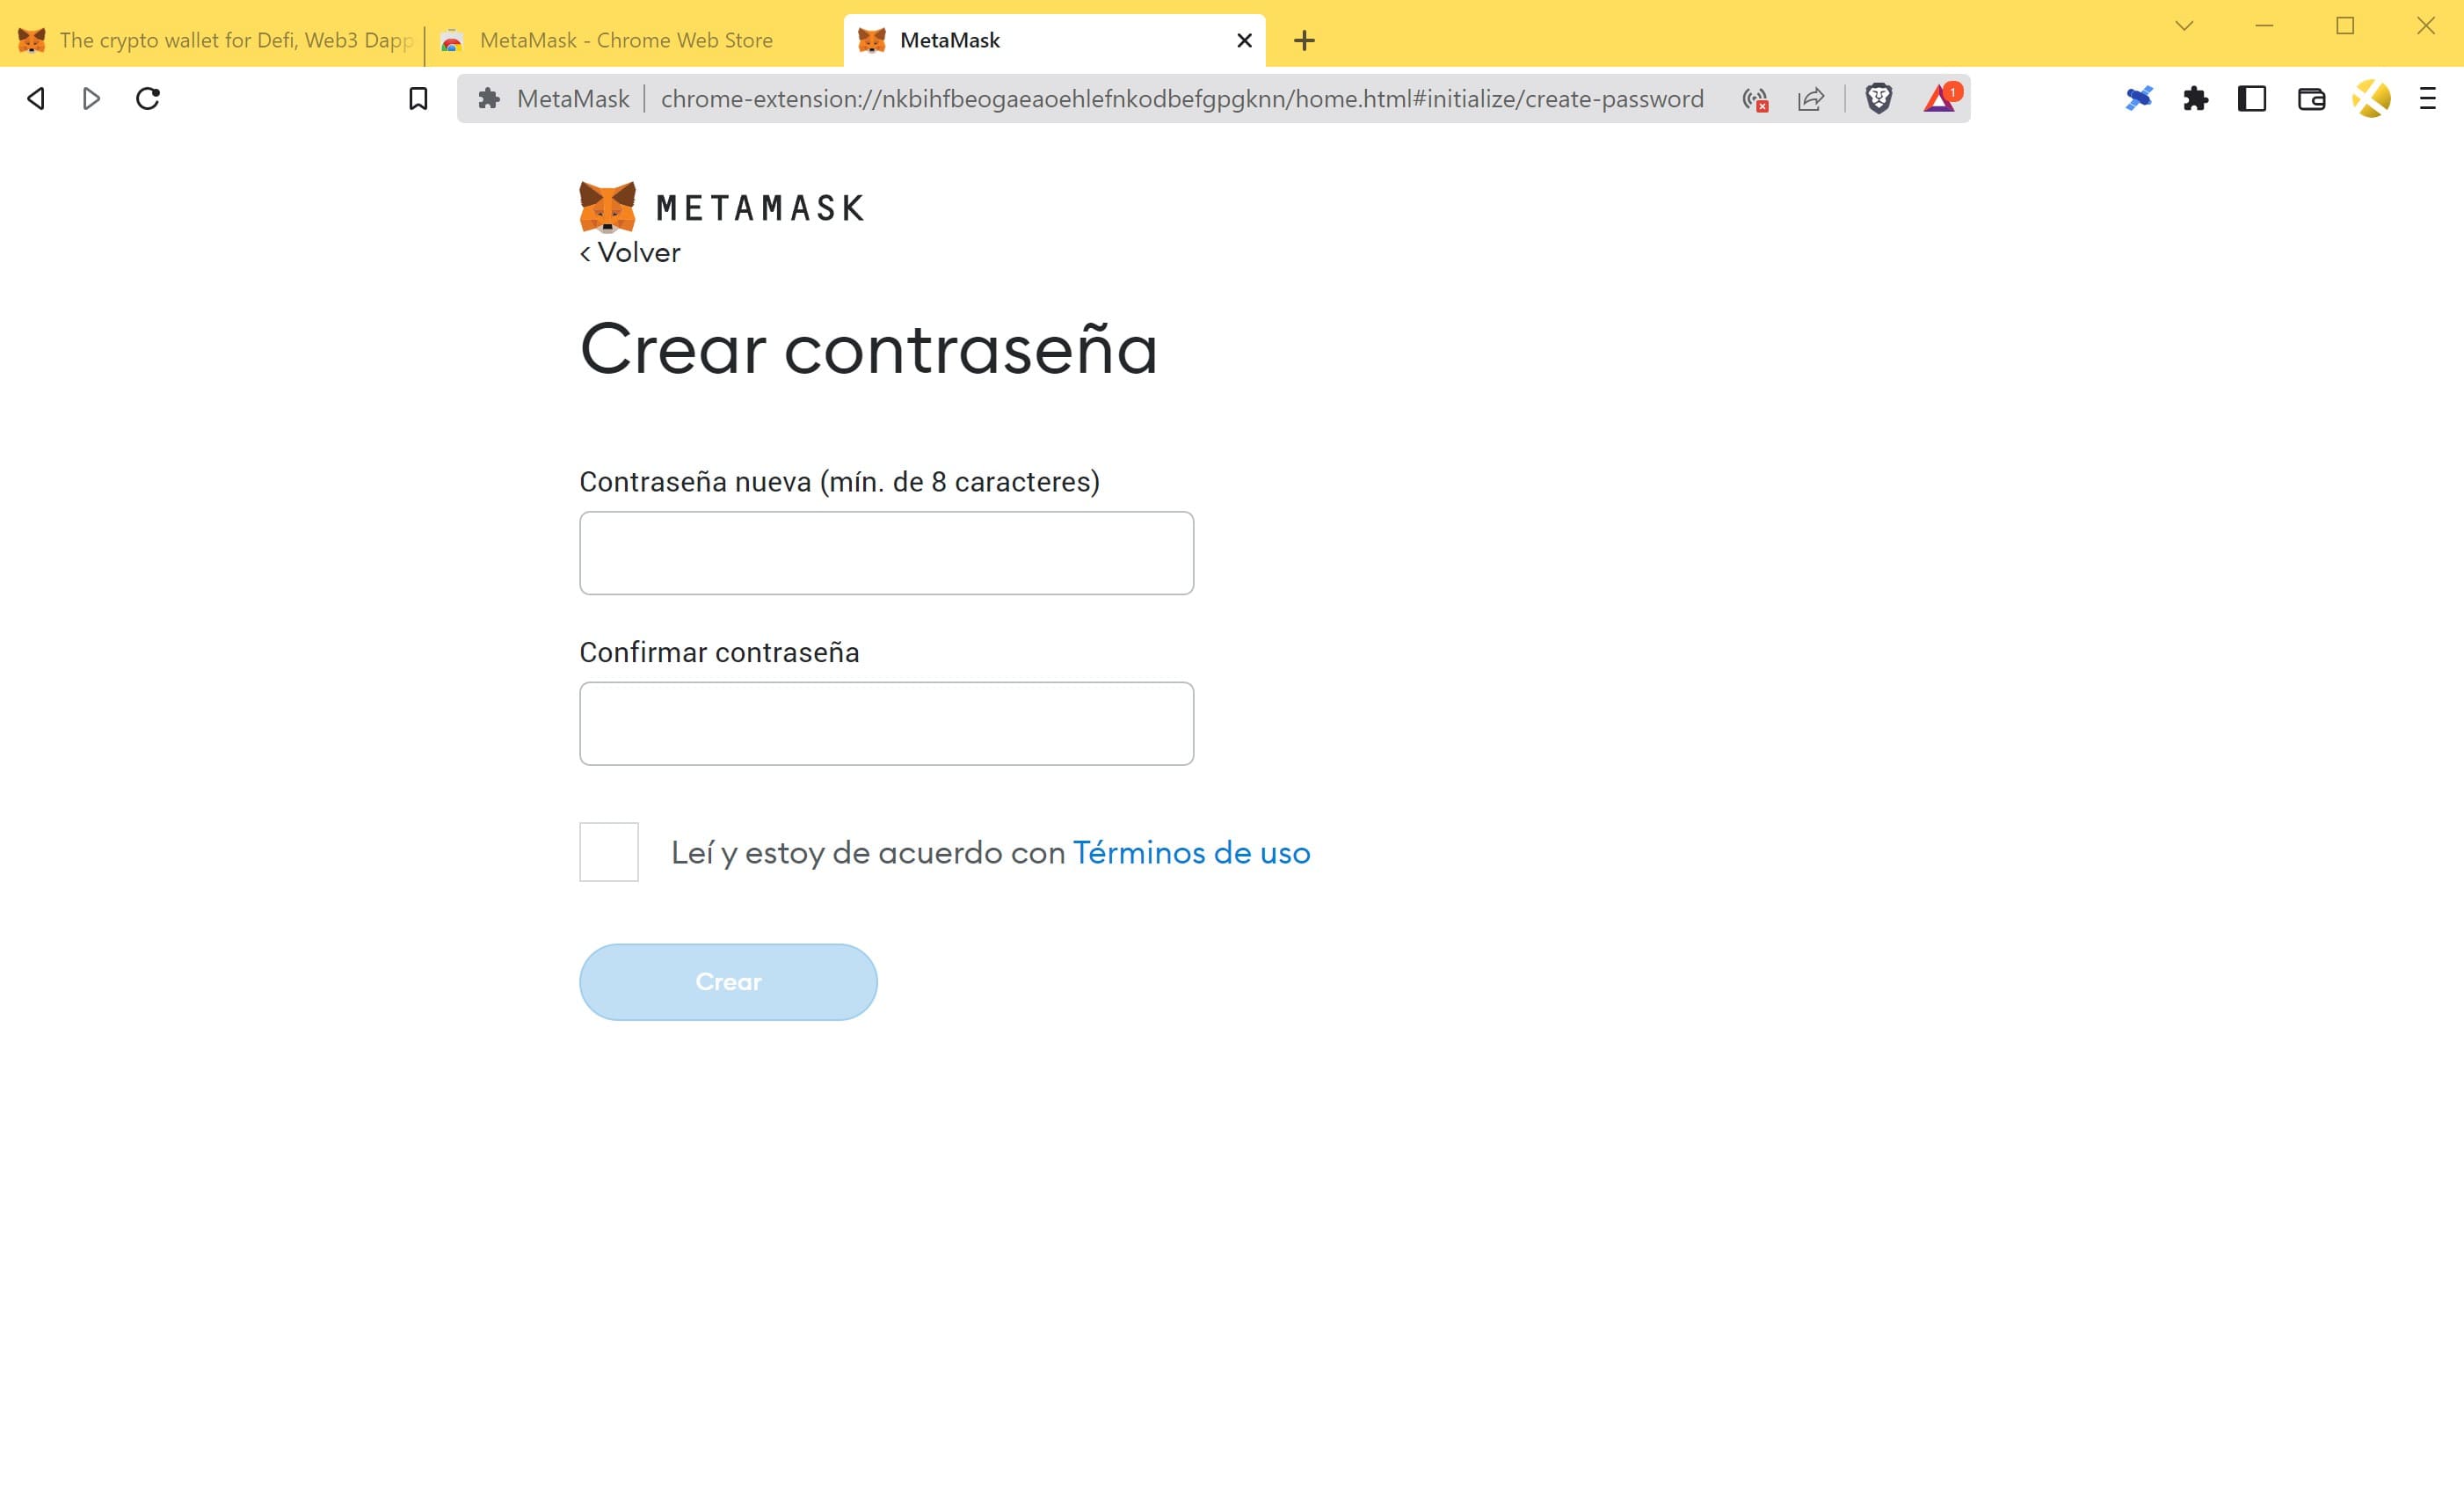
Step 2: Set a password for this new wallet. Repeat it, accept the terms of use and click Create (remember it, you will be asked for it again later).
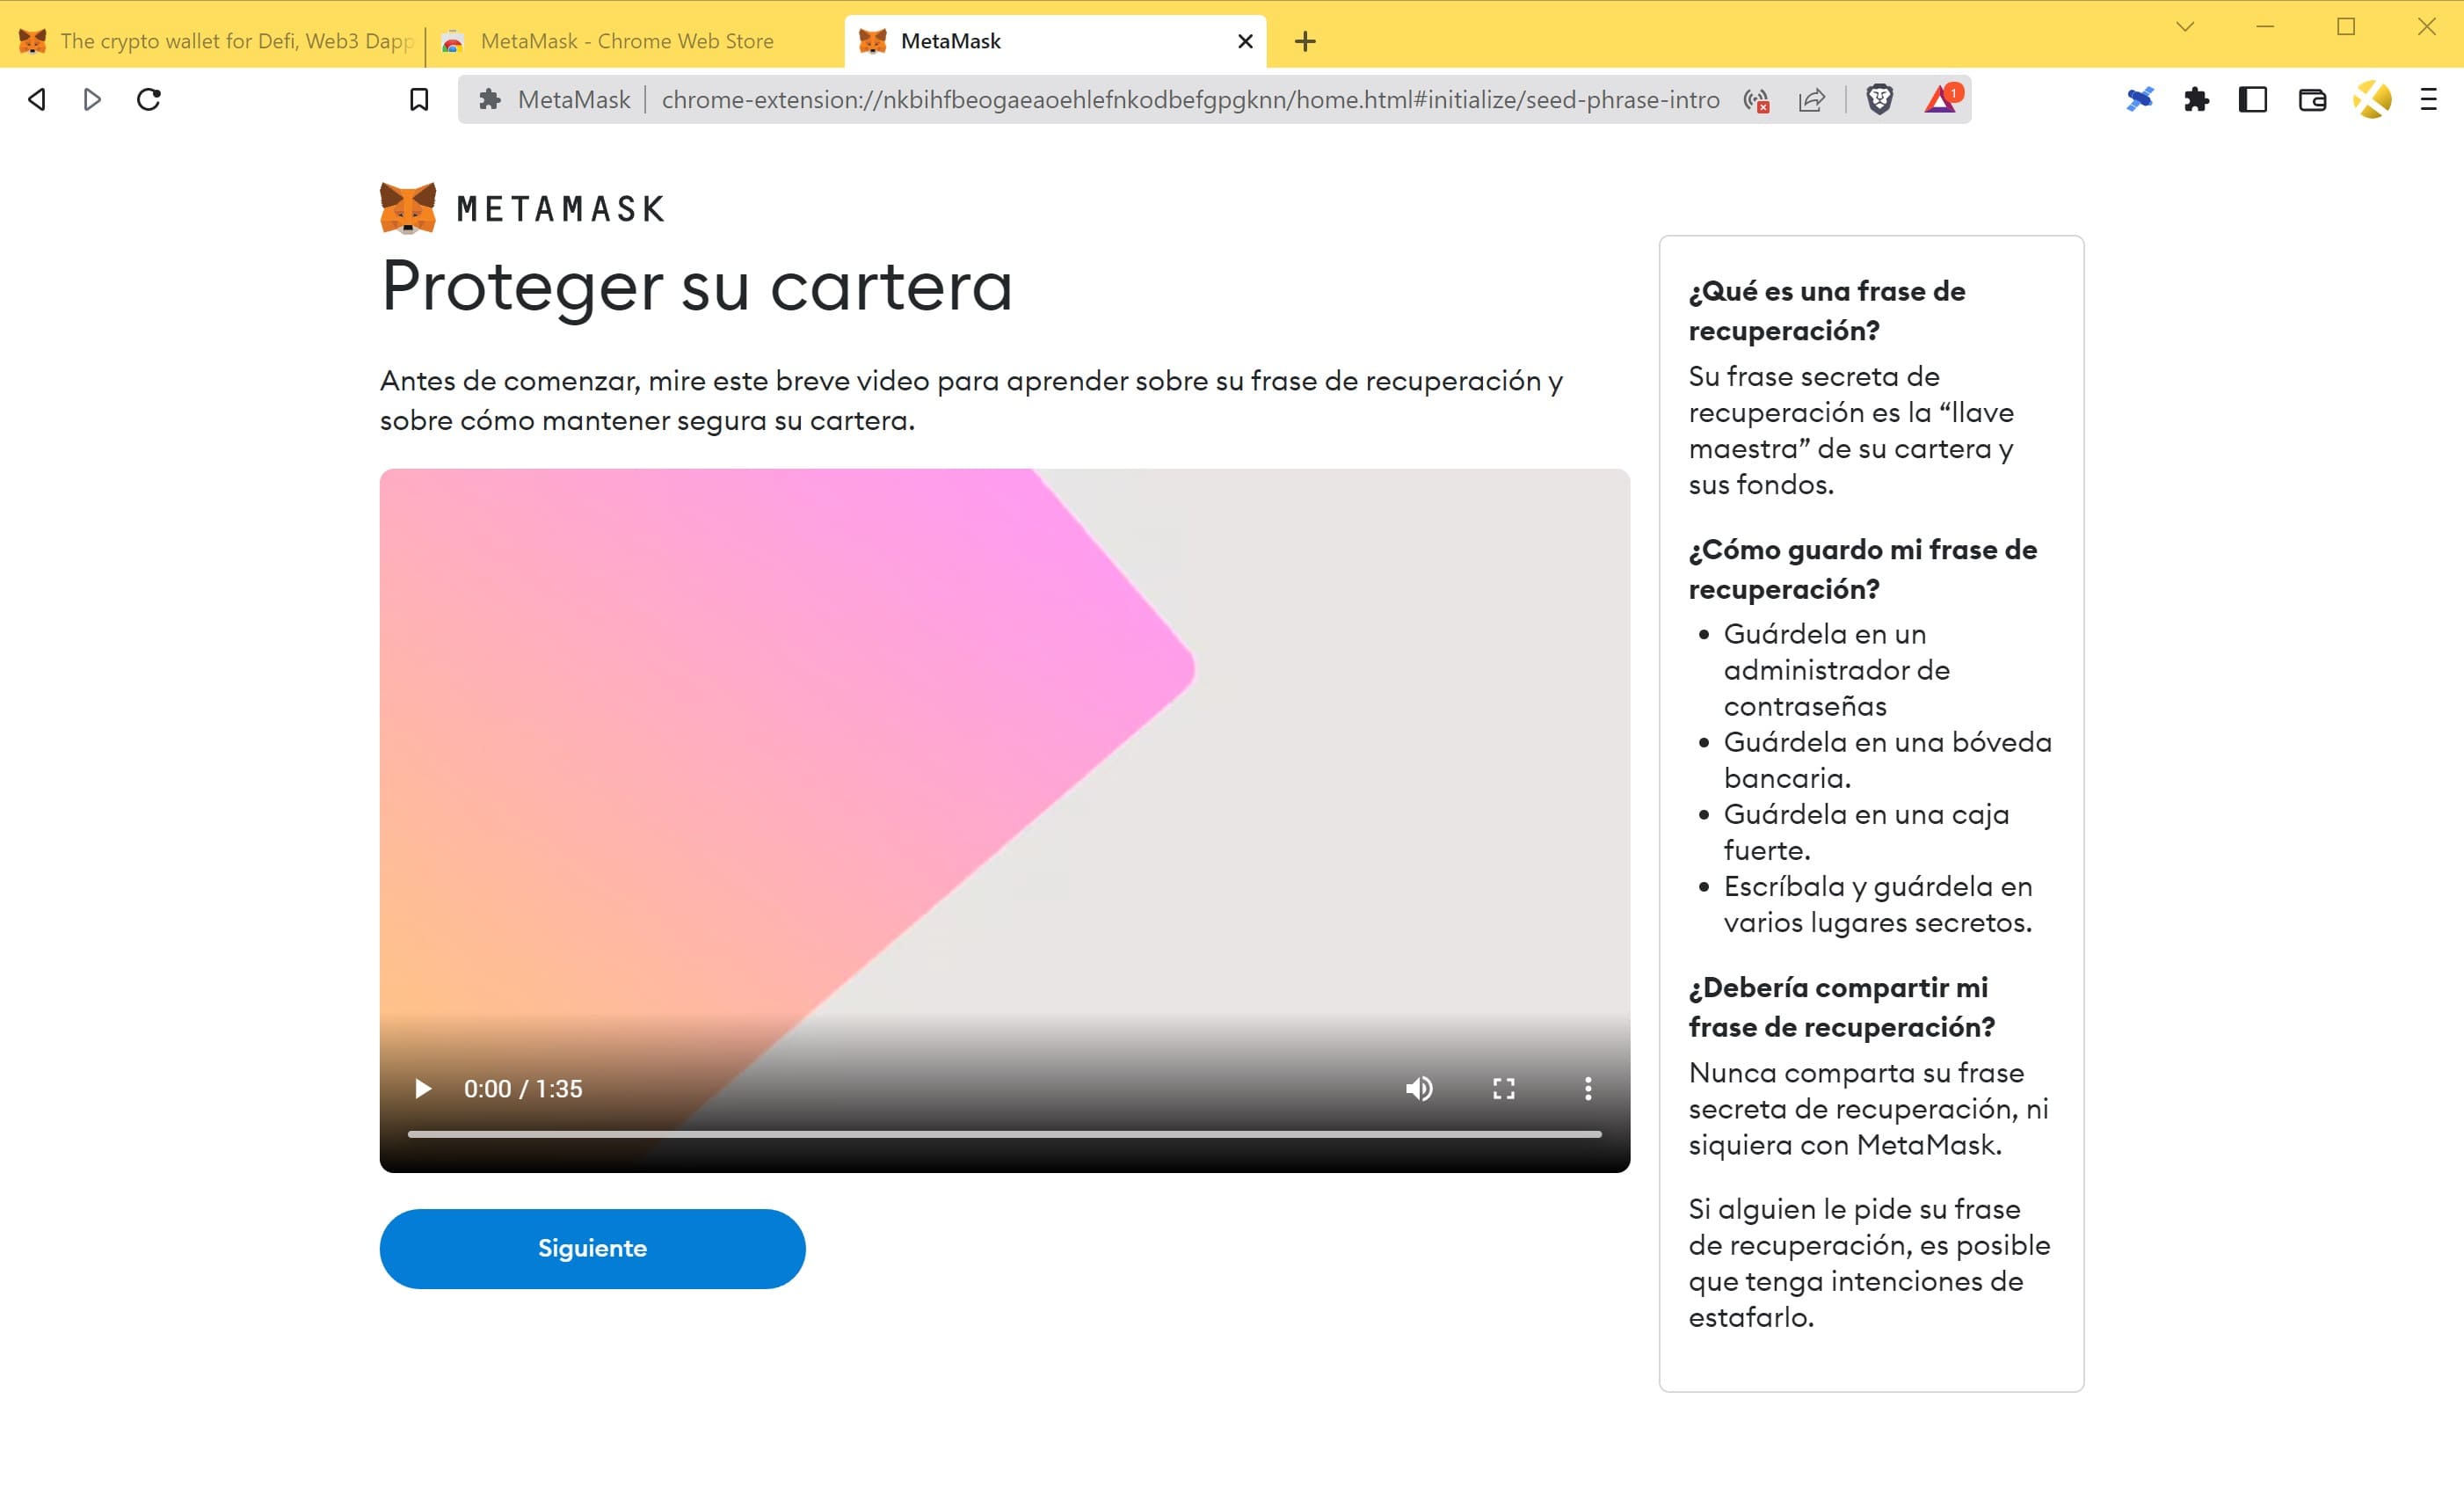
Step 3: You will get an informative video with safety tips. Click Next.
Step 4: We are in the “Secret recovery phrase” menu. Click on the window with the padlock to see the words shown below.


Important: Write these words down on a piece of paper (and engrave them on your DIY wallet afterwards). The order of the words must be respected, so it is better to number them so that there is no confusion. Remember that this will ensure that your wallet is stored safely.
Step 5: The program will request you to sort the words in the correct order so that the program knows that we have copied them correctly.
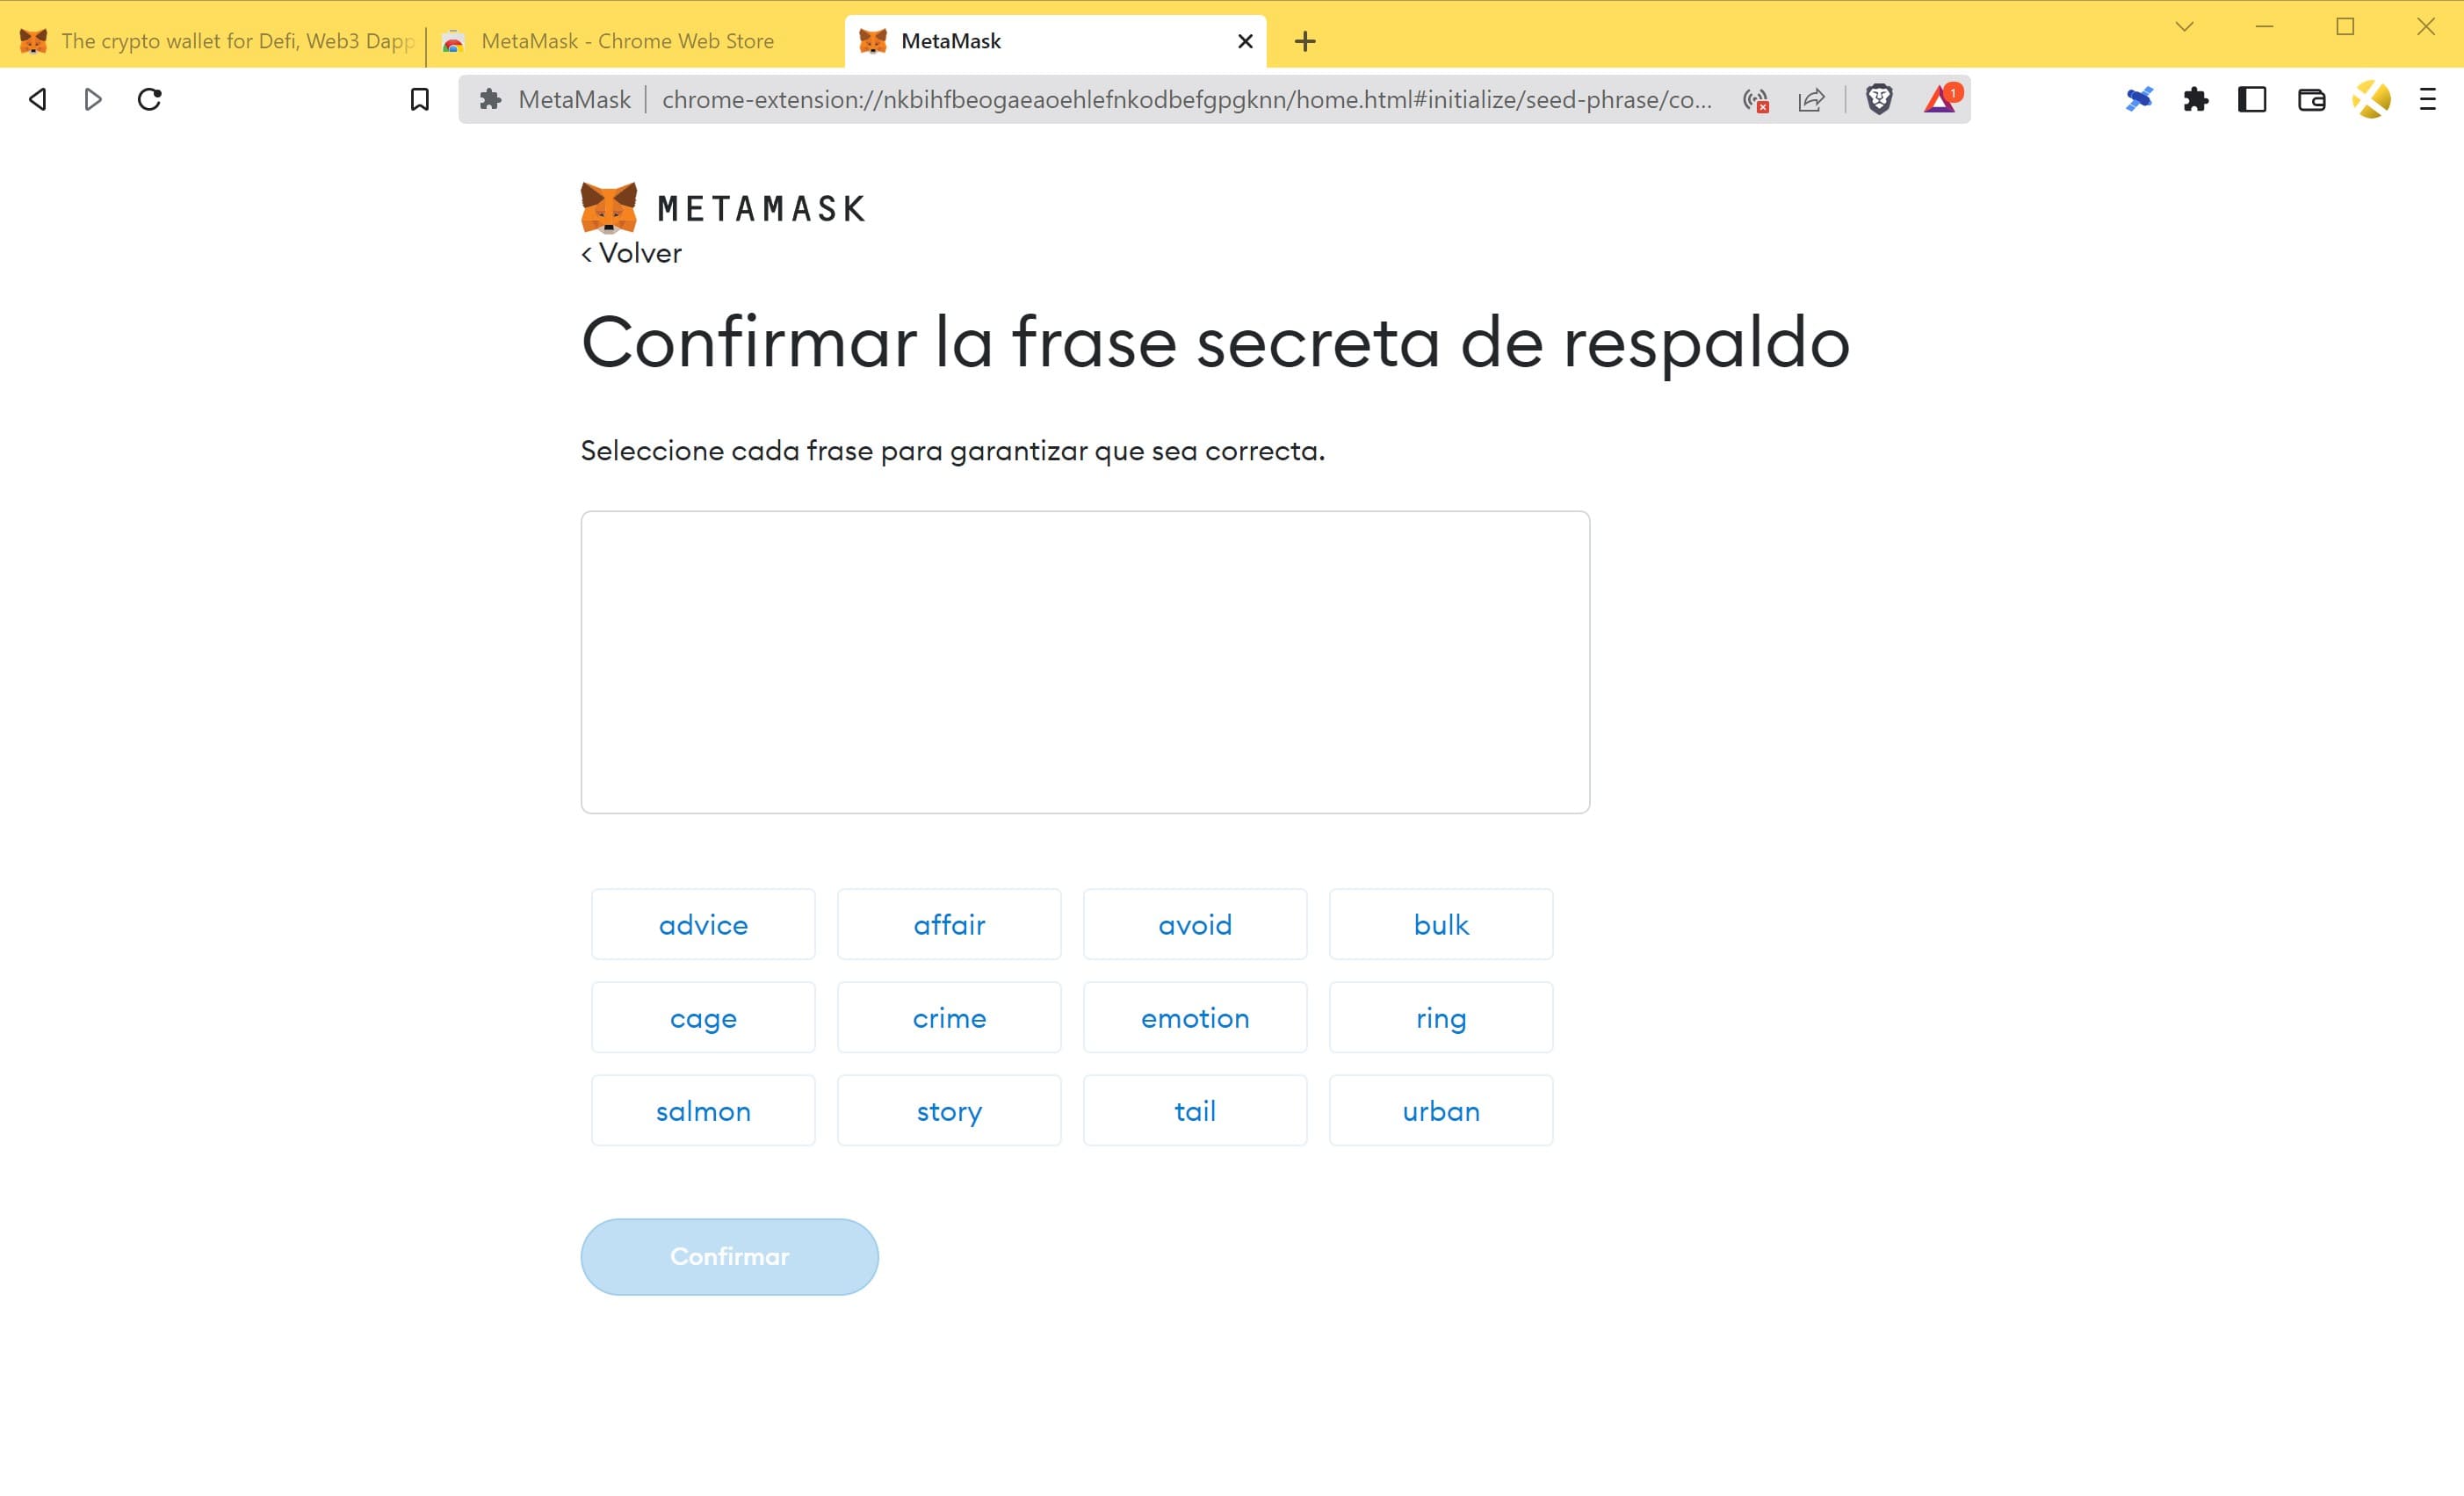
(When you click on “Confirm” it tells you that everything is OK, so click on “All done“).
Your wallet has now been created!

View the new address created
Once we created a wallet in Metamask and backed it up with a recovery phrase, let’s check the address we have assigned.
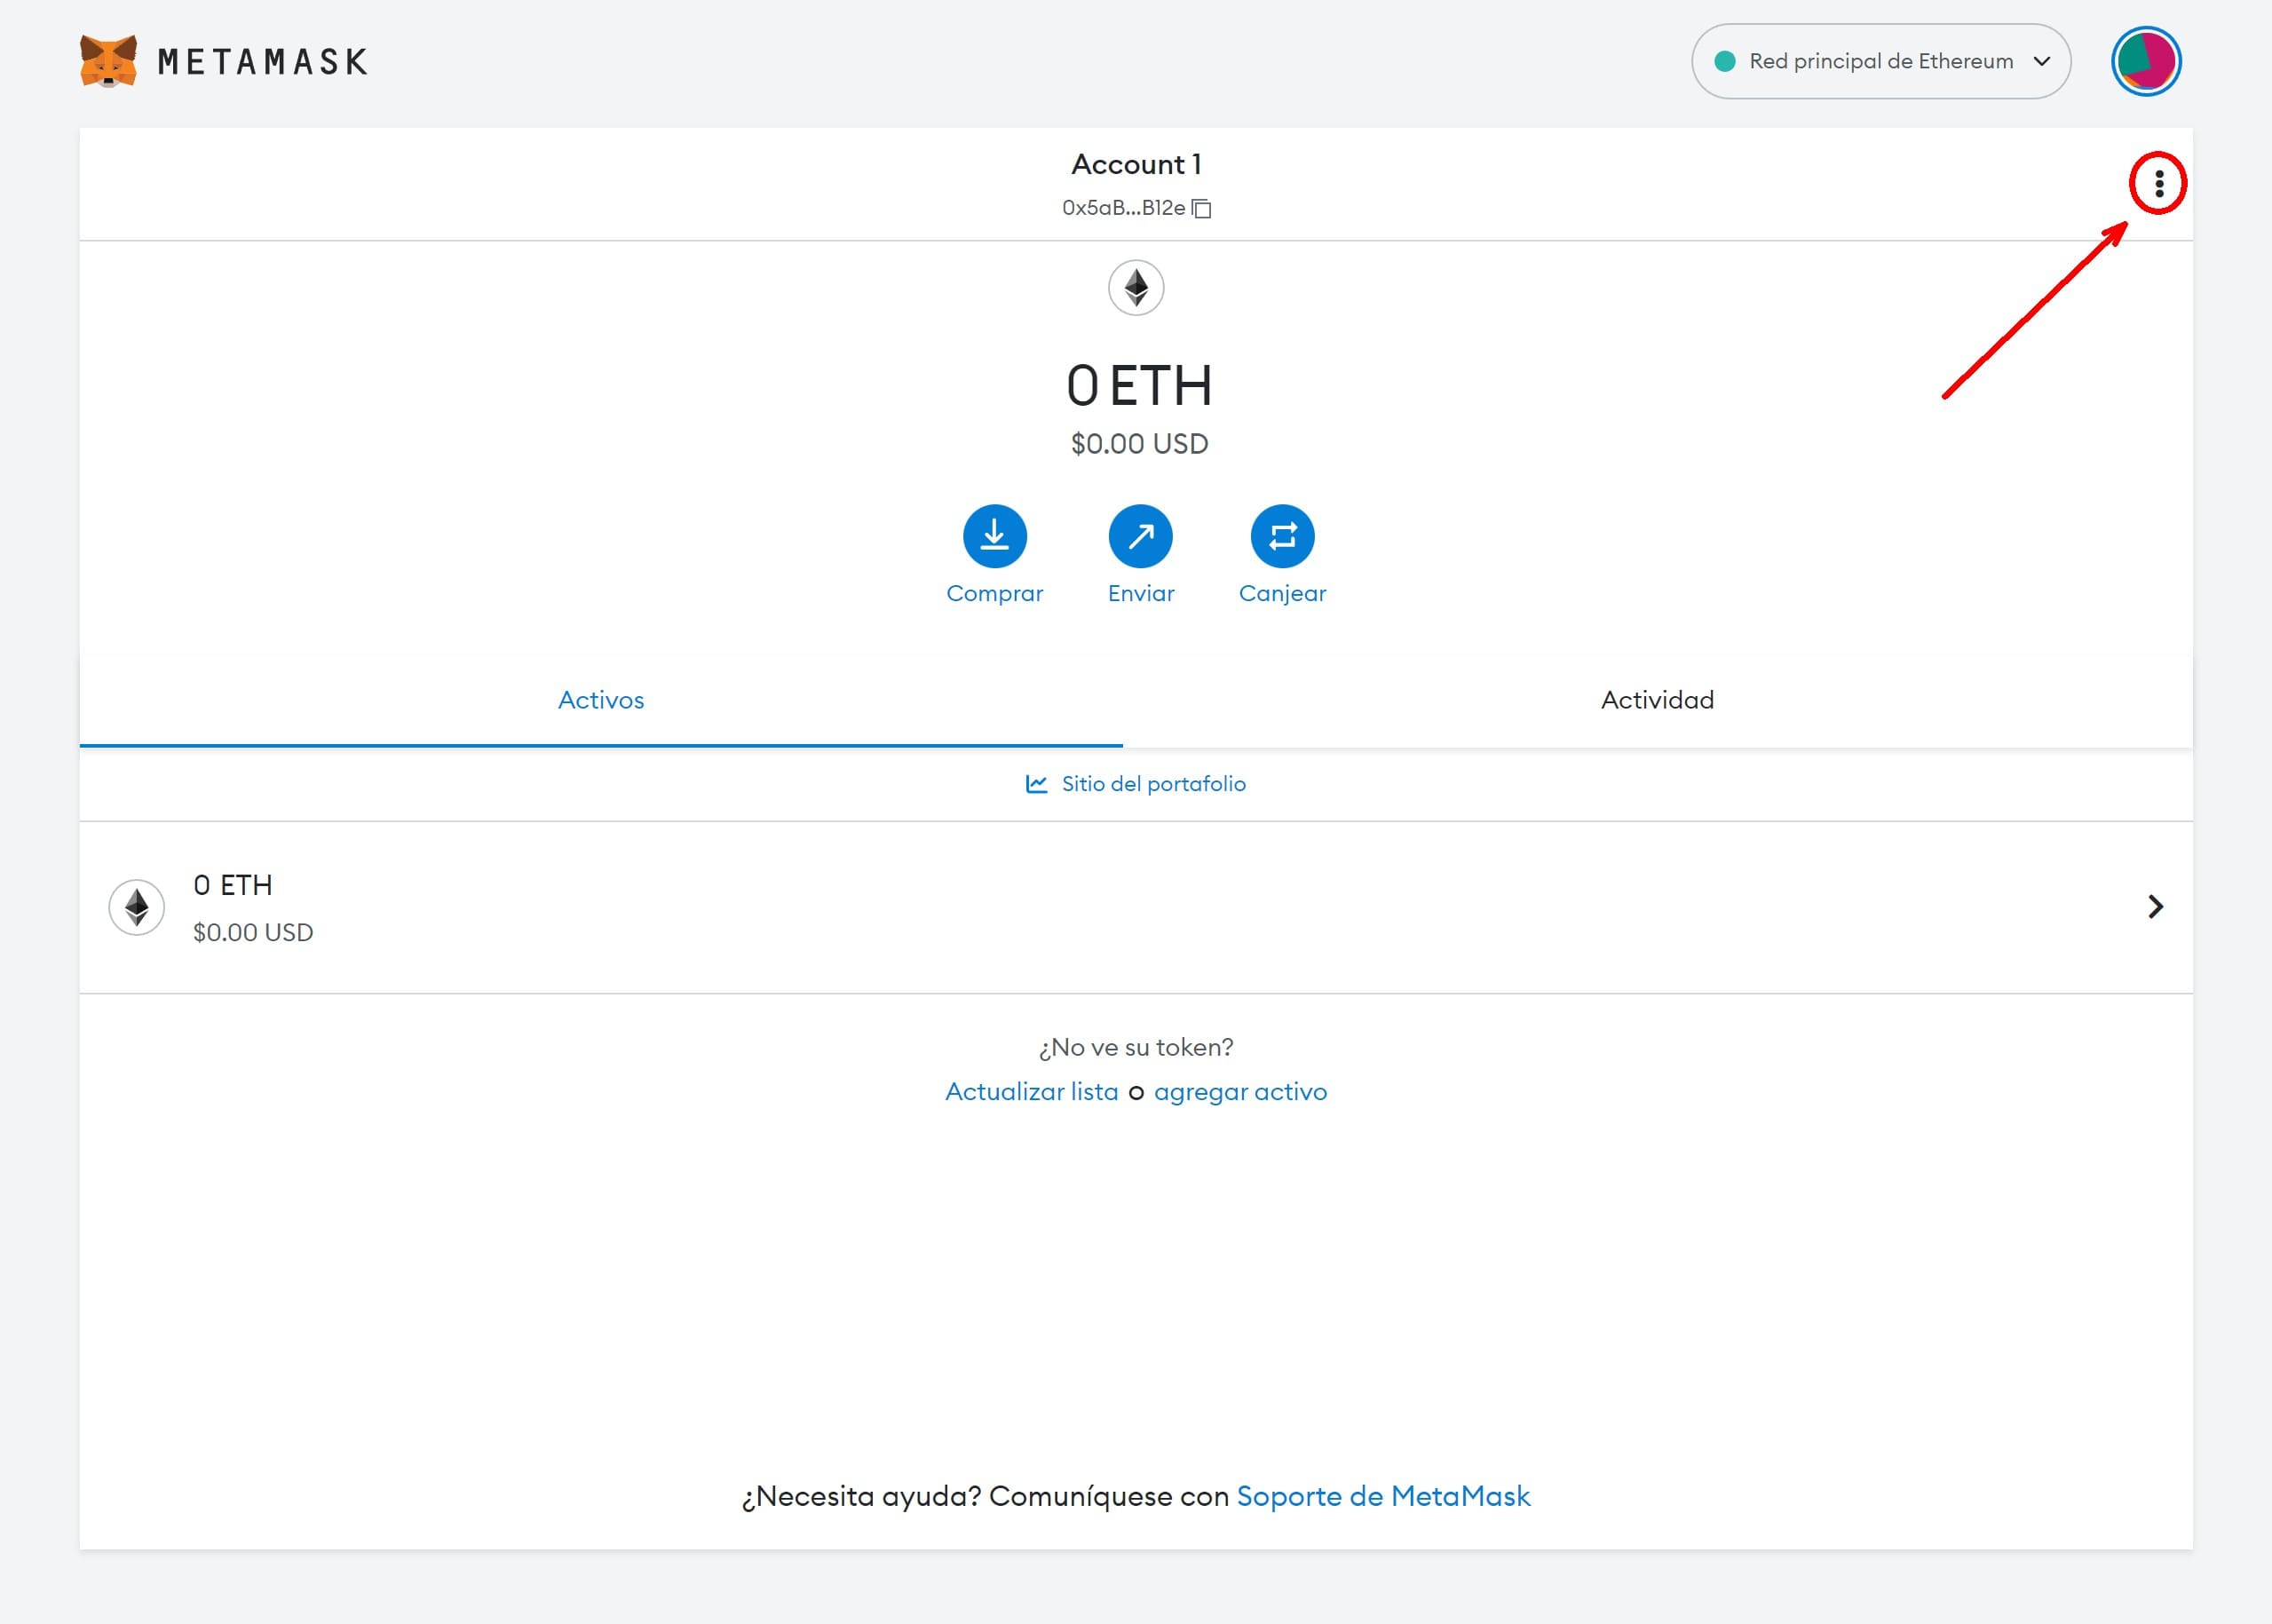
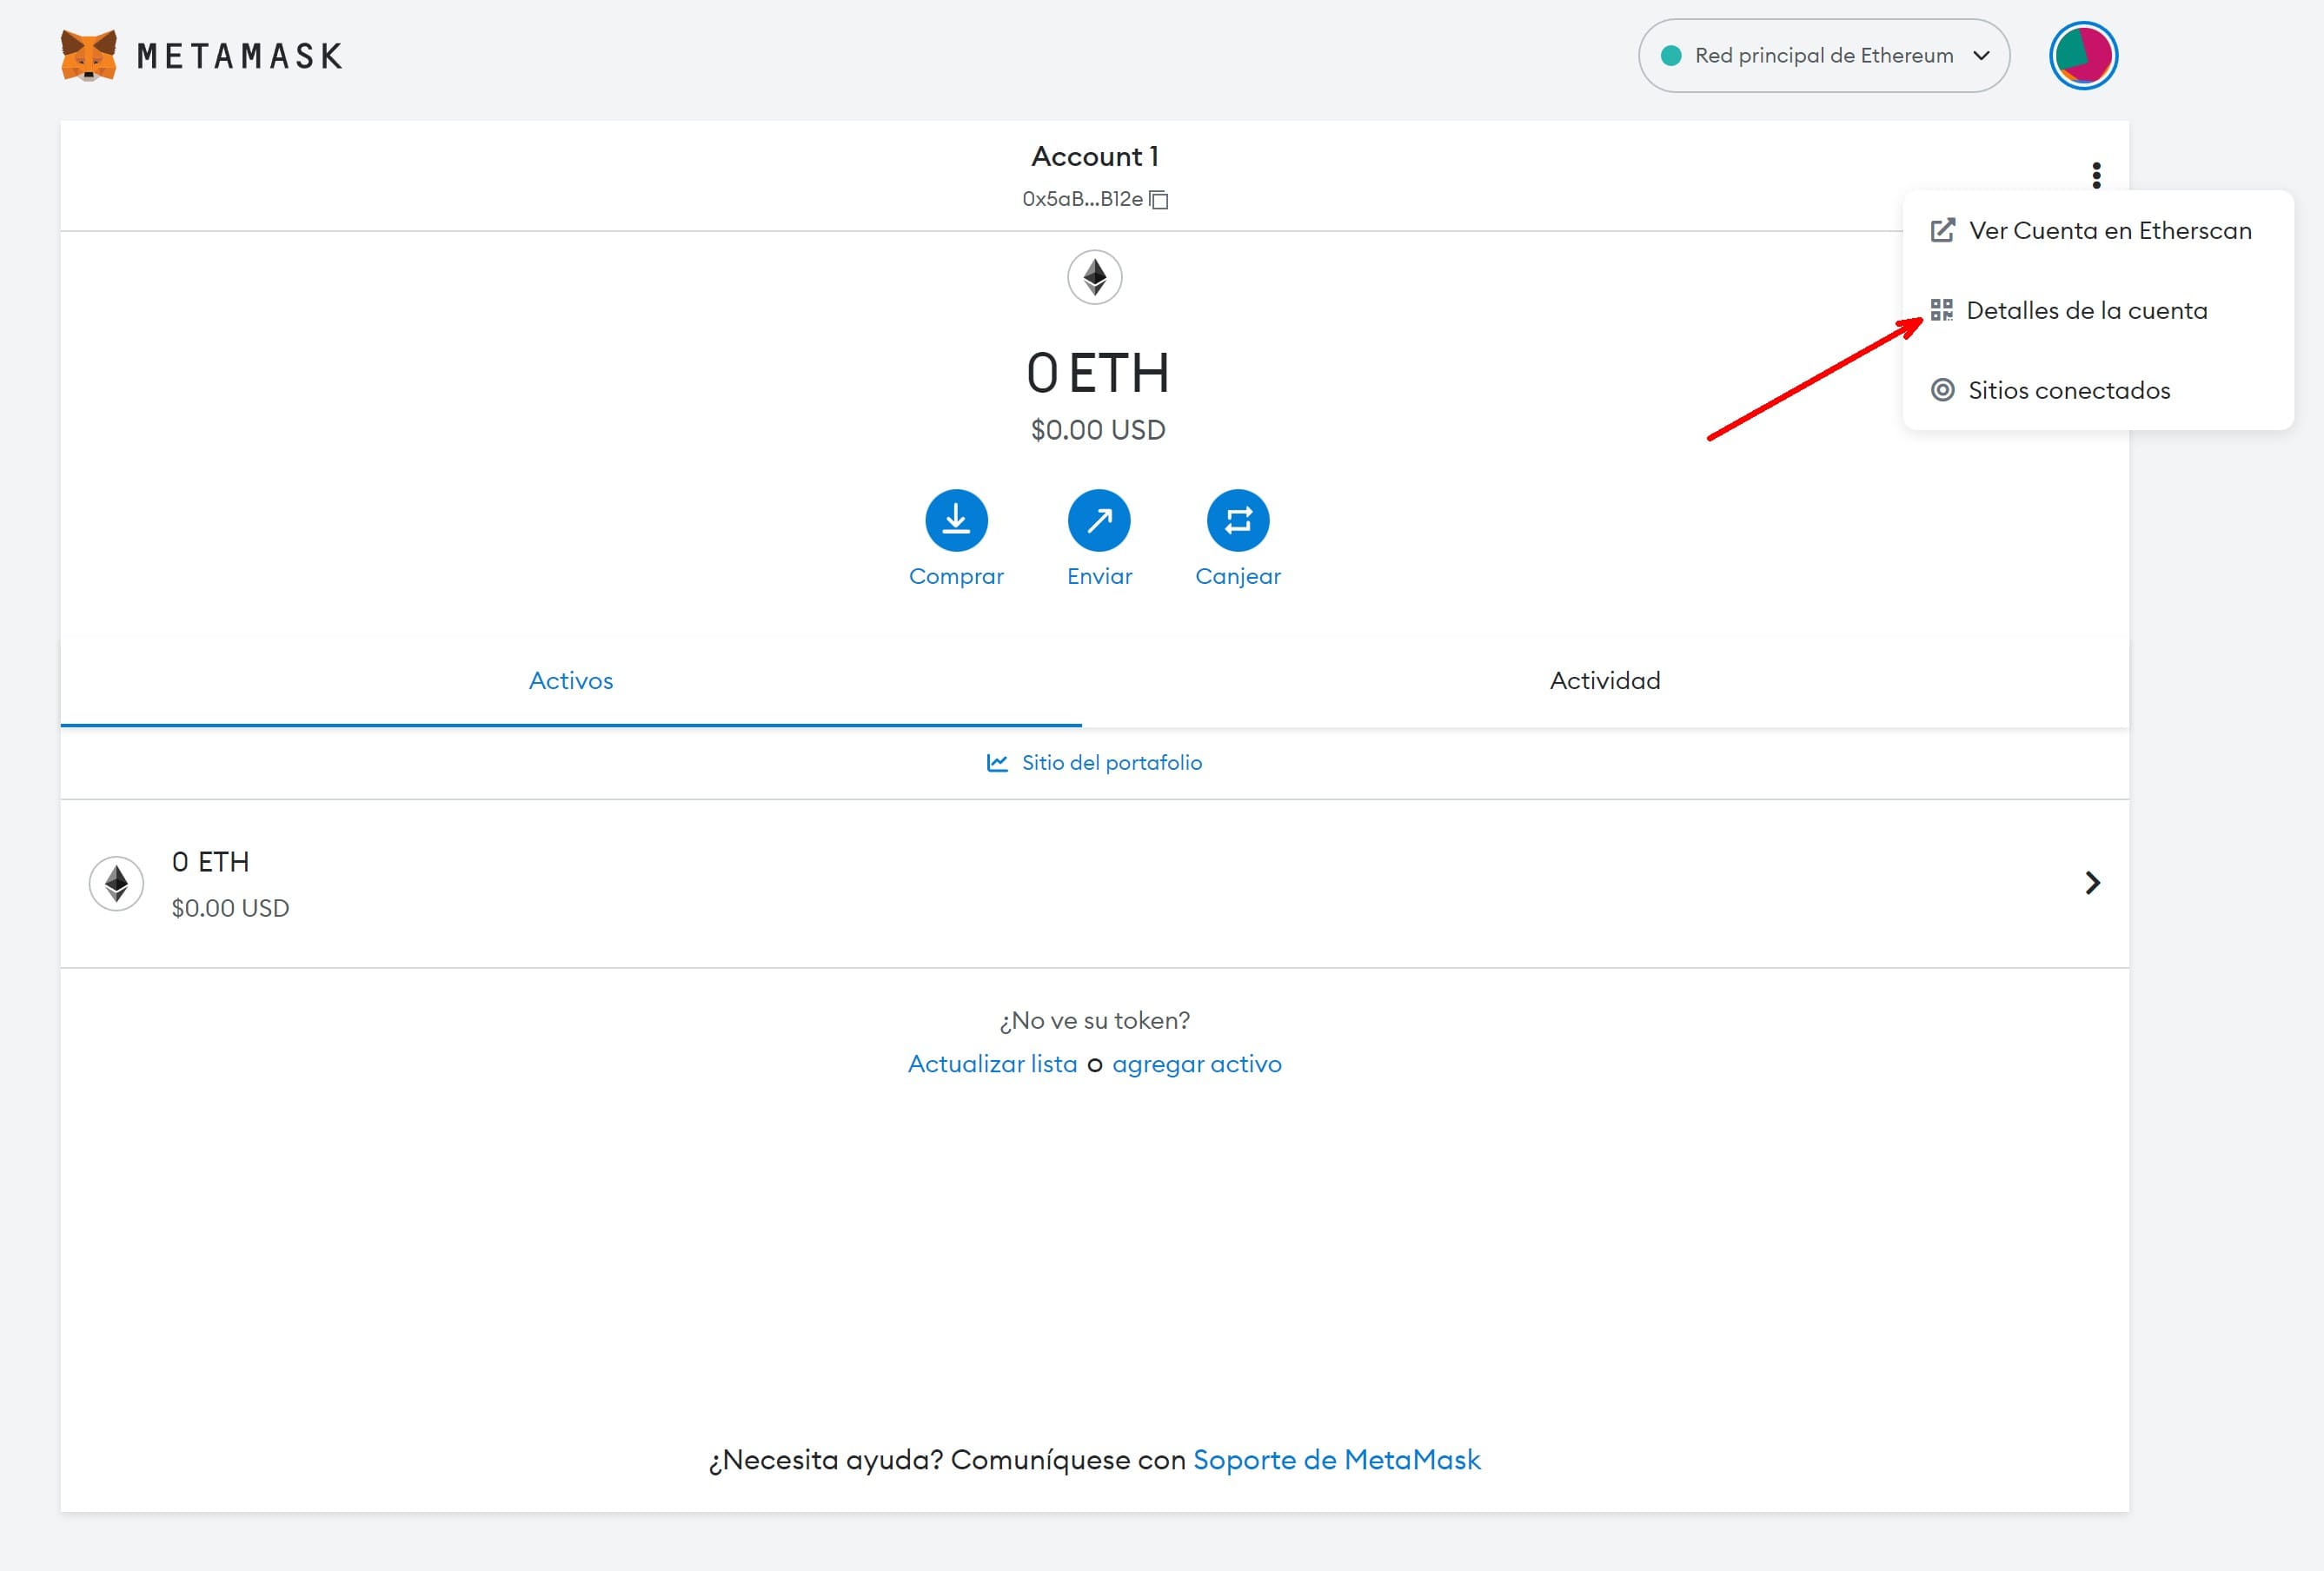
Step 1: On the main screen, click on the vertical ellipsis (three vertical dots) at the top right corner, next to the address of our wallet.
Step 2: Click on the “Account details” option.
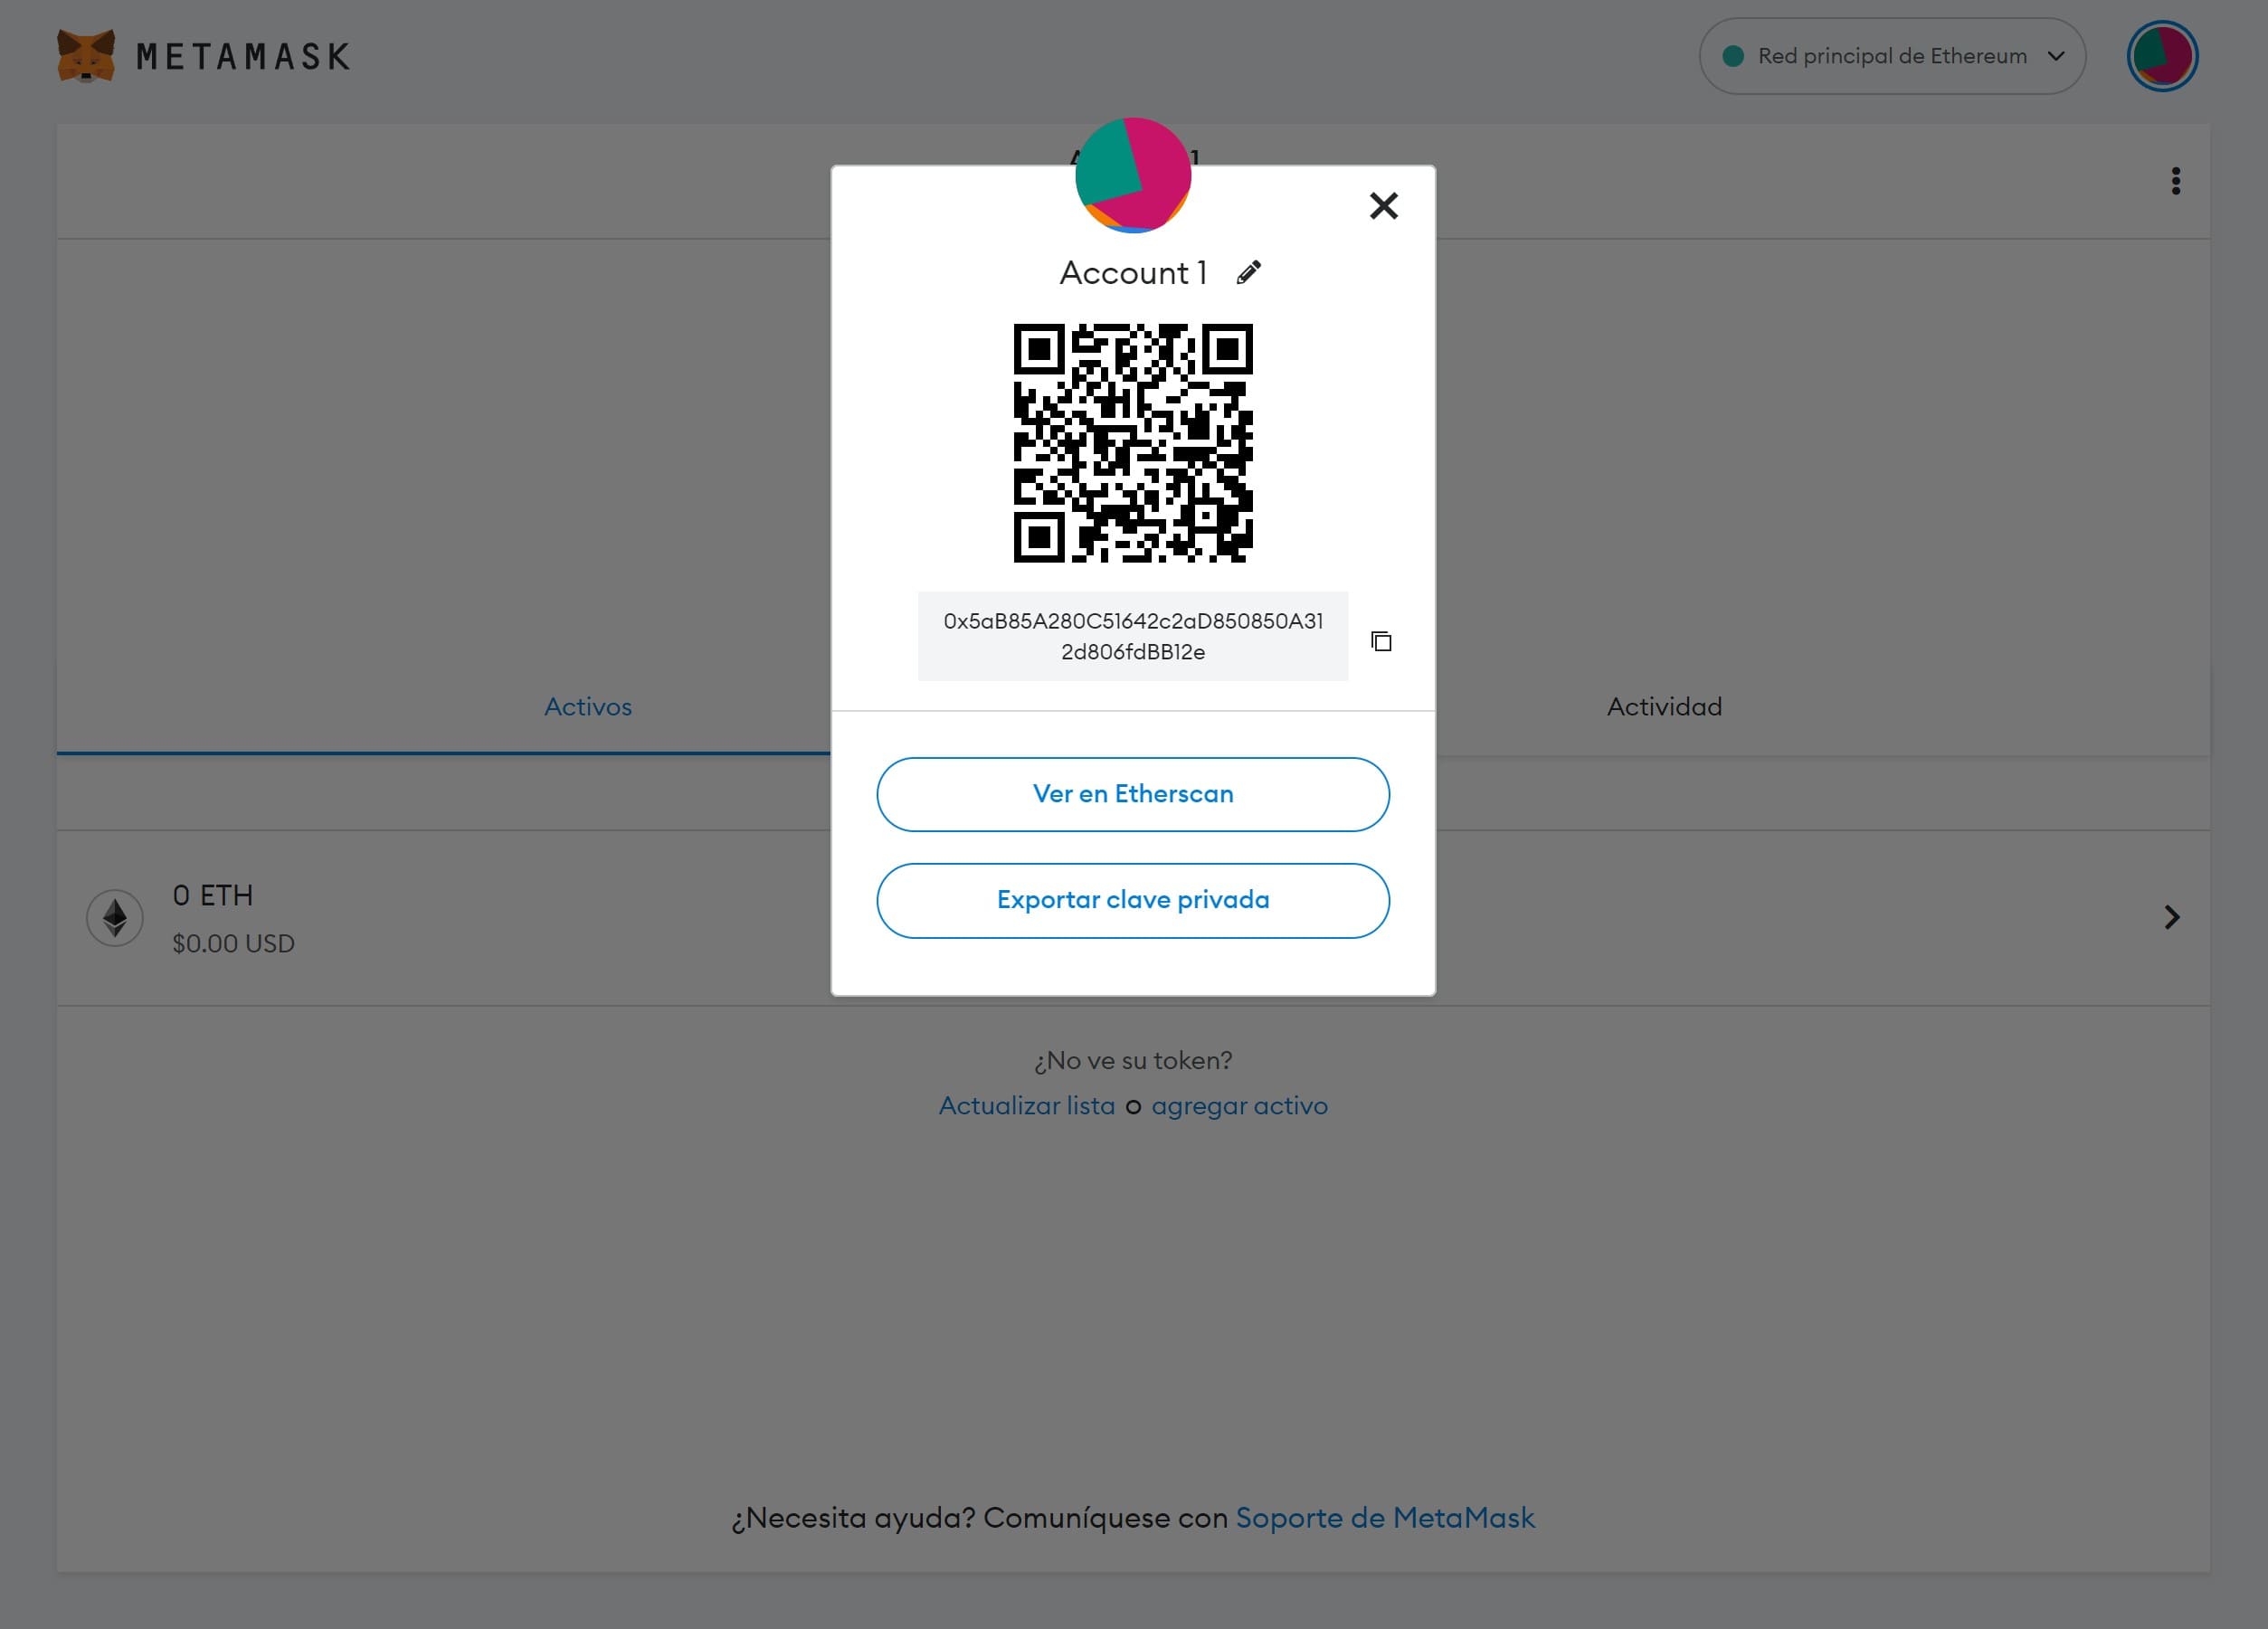
Step 3: You will see the complete public address, (copyable) which you use to send the ETH from your exchange to you or you share to someone you want to receive funds from.
You will also see the QR code of that address, which you show to the camera to provide the public address in order to send money to your account.
You already have your Metamask wallet where you can send and receive ETH tokens or any other cryptocurrency compatible with that network.
If you are not sure if you have done it right, or you got stuck at some point, feel free to contact us on this link and we will assist you.
If you already have an Ethereum wallet set up in Metamask
If you have already set up an Ethereum wallet in Metamask, get access to the seed phrase is very simple. Here’s how to do it:
Step 1. Secure your environment. Remember to disconnect the internet and cover the cameras of your laptop and mobile.
Step 2. Access your Metamask wallet with your password (remember that you can add it as an extension in your browser).
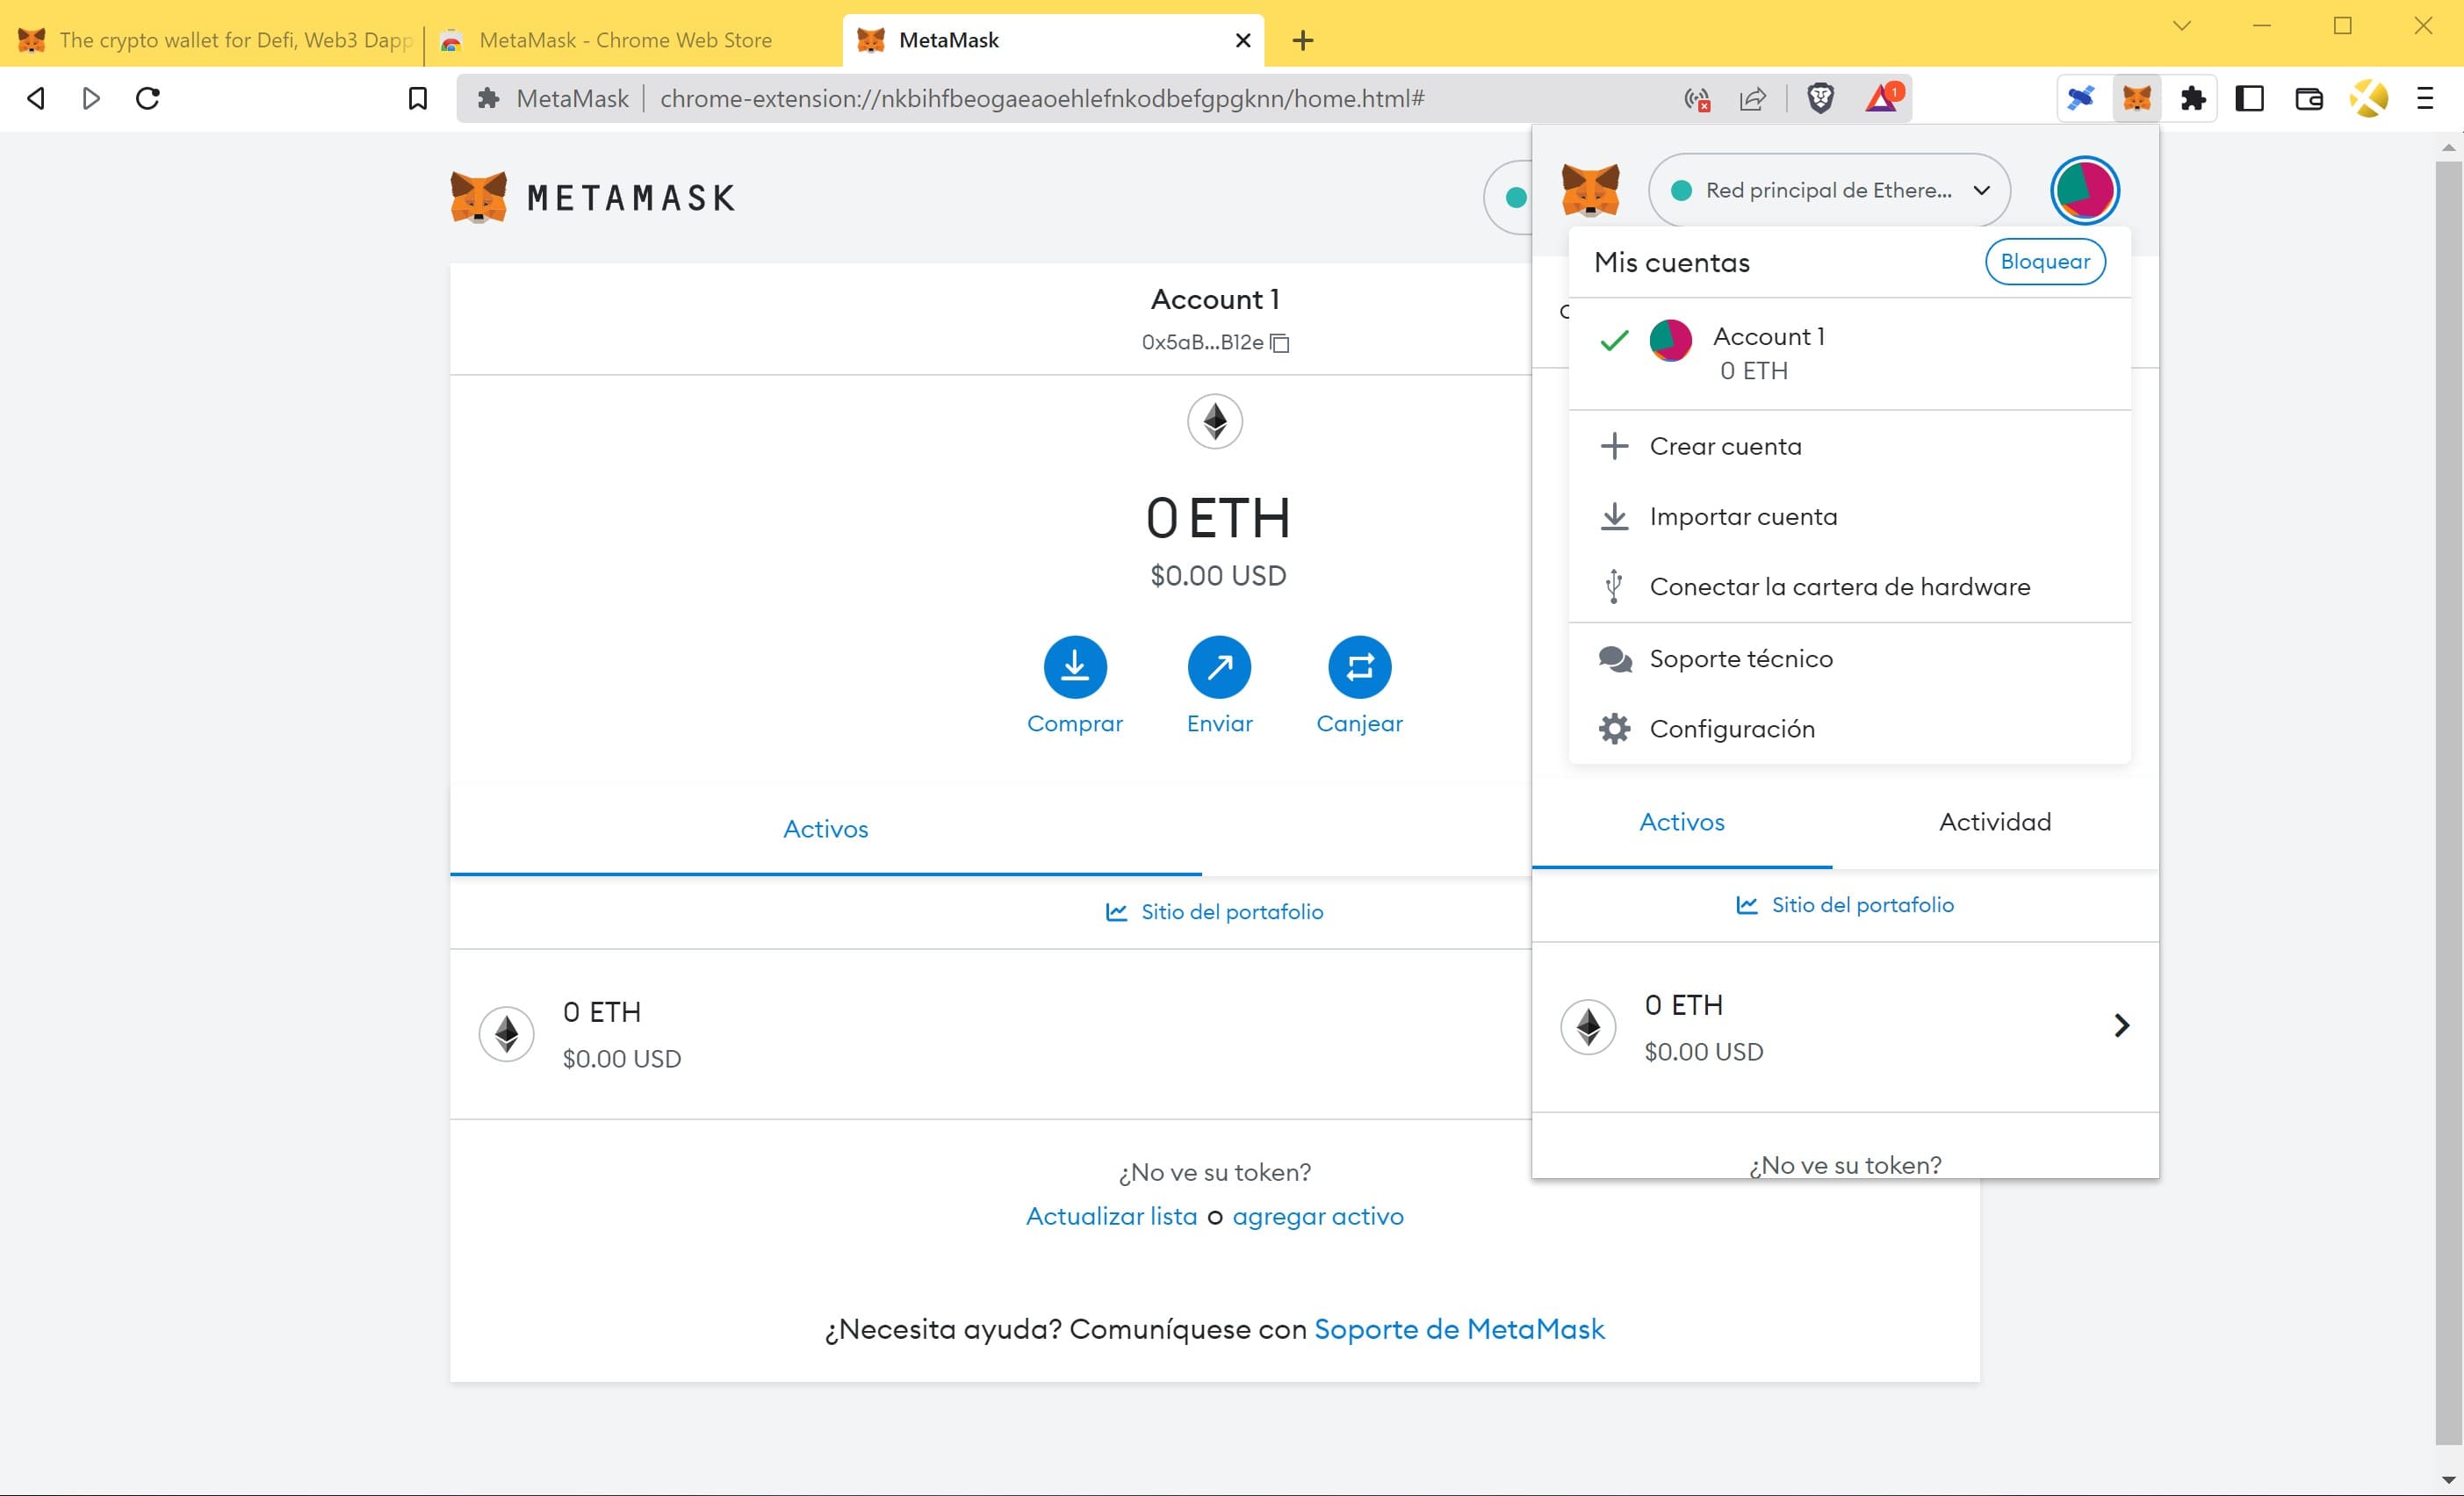
Step 3. Whether you have the extended version or if you see it in the application access, click on the colored circle that appears next to the network you have selected and click on Settings.
Remember: You must be disconnected from the internet and in a secure environment.
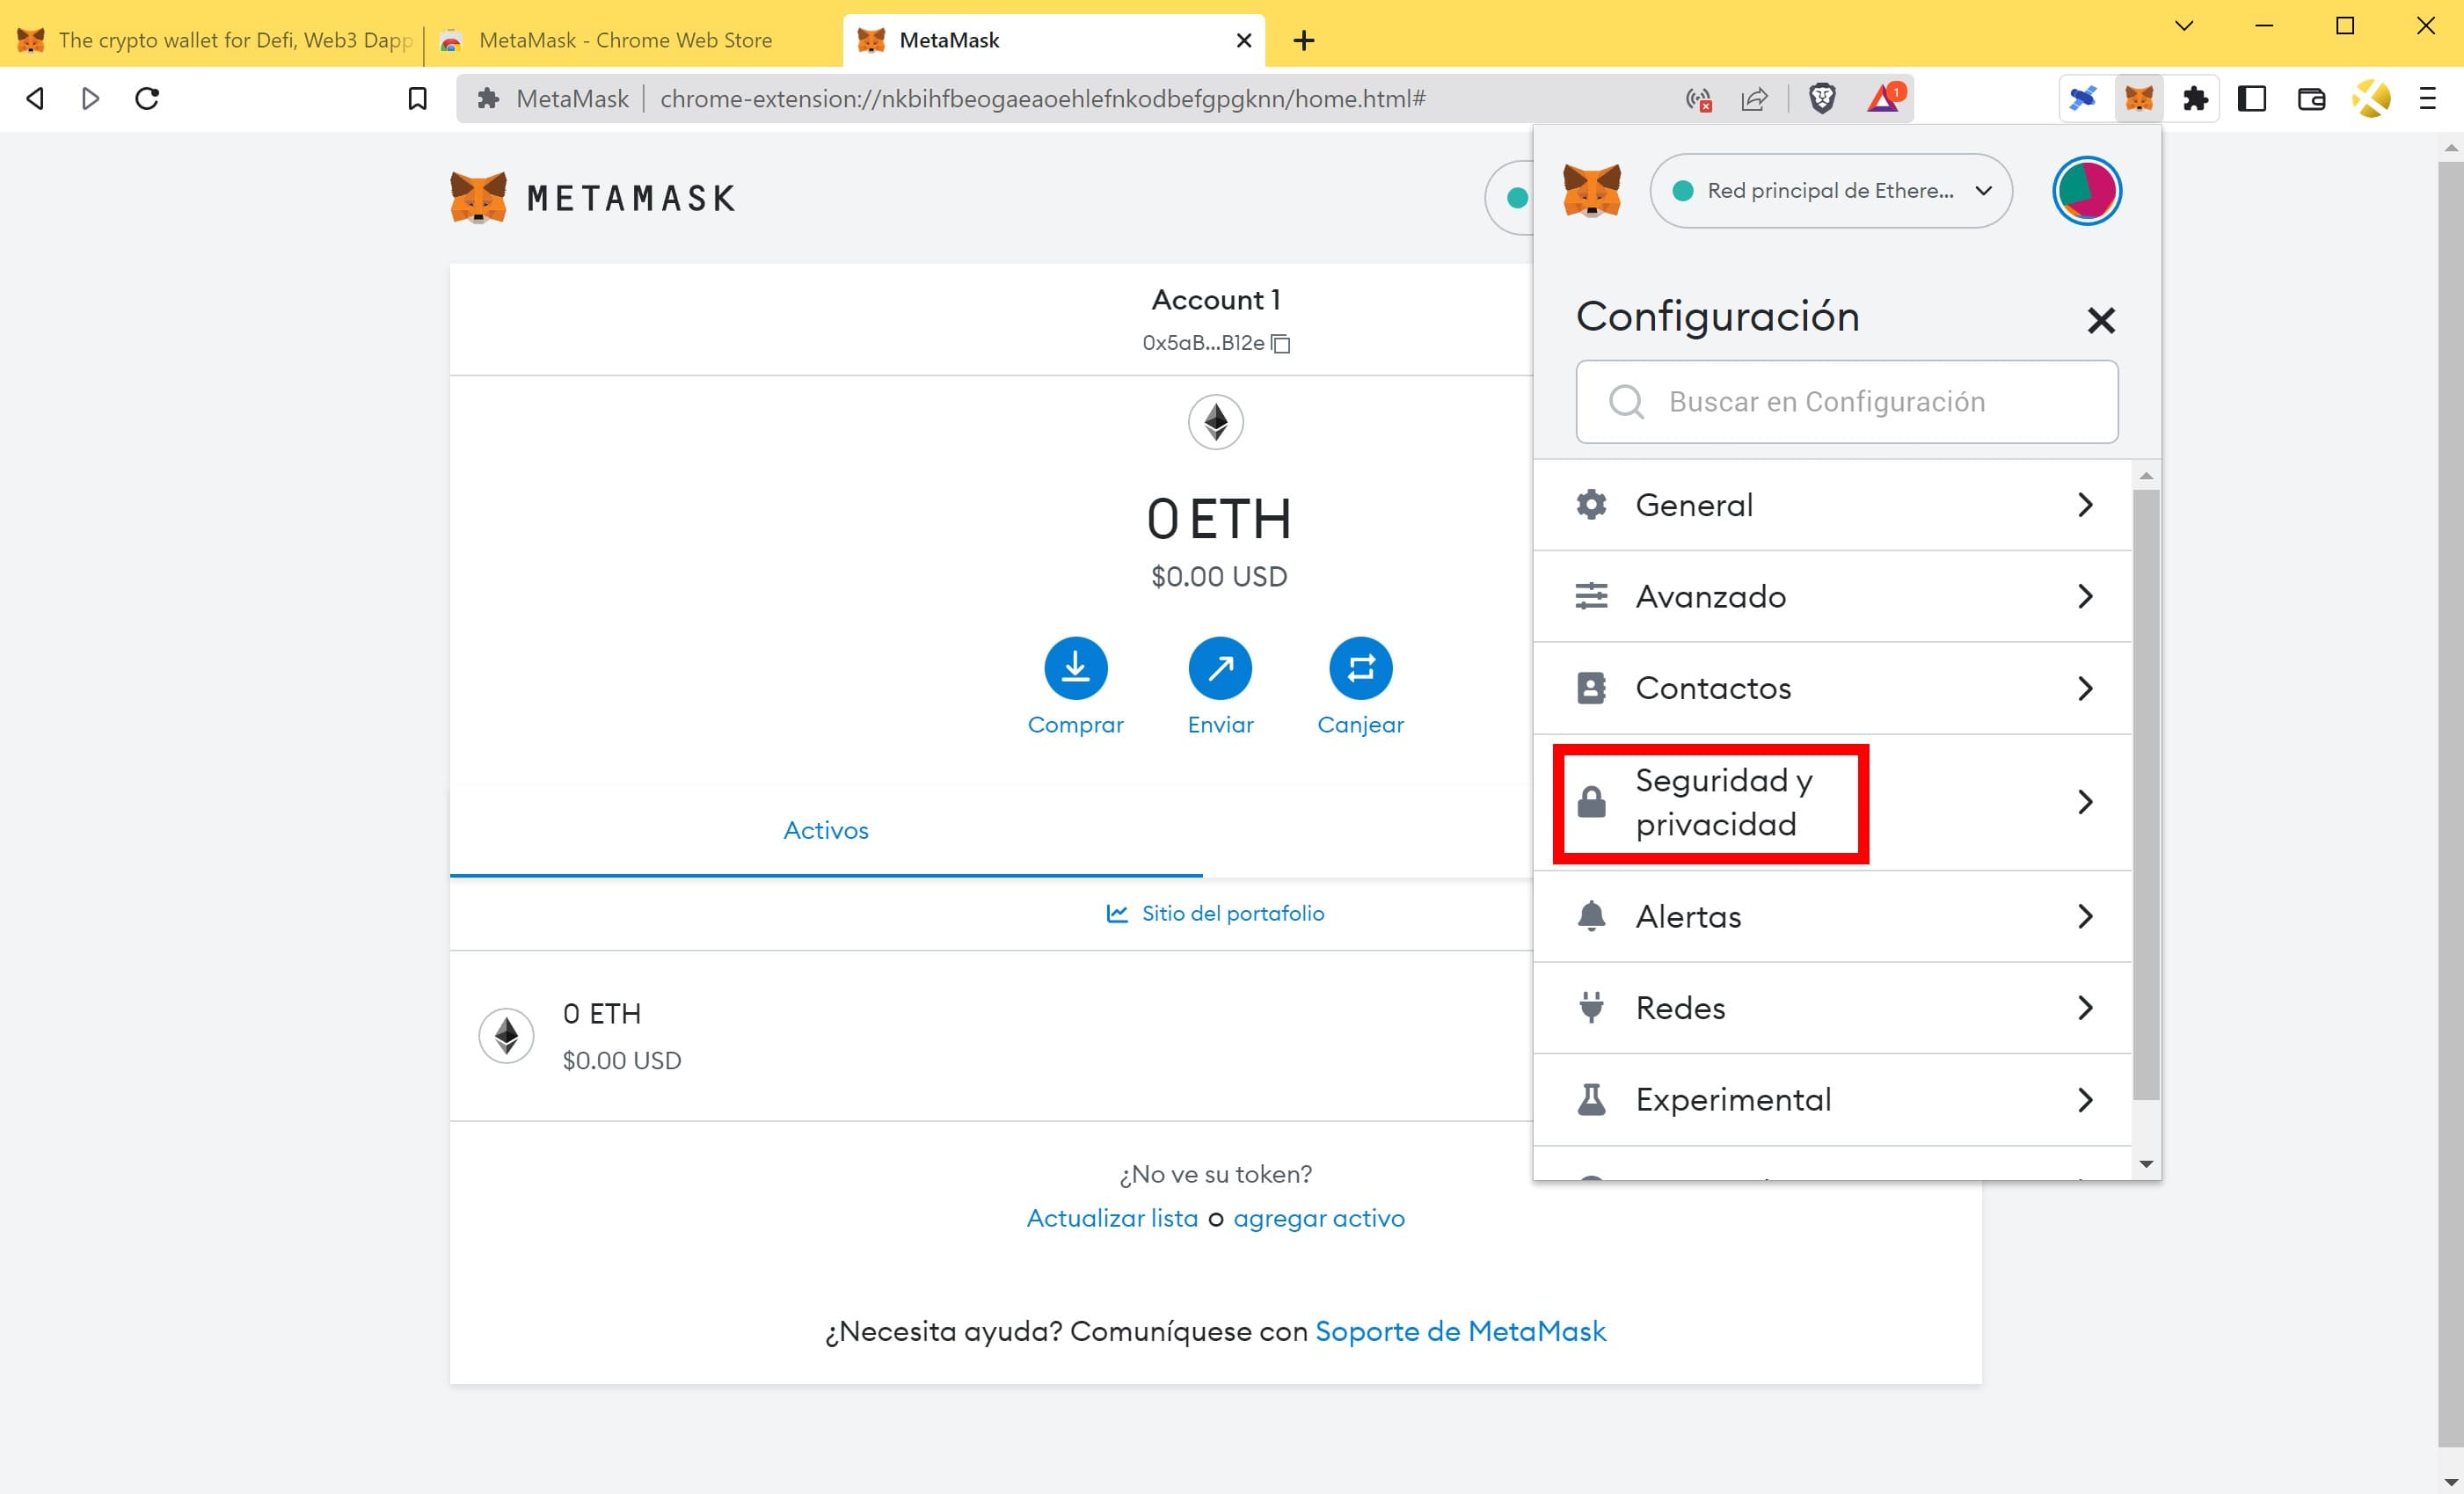
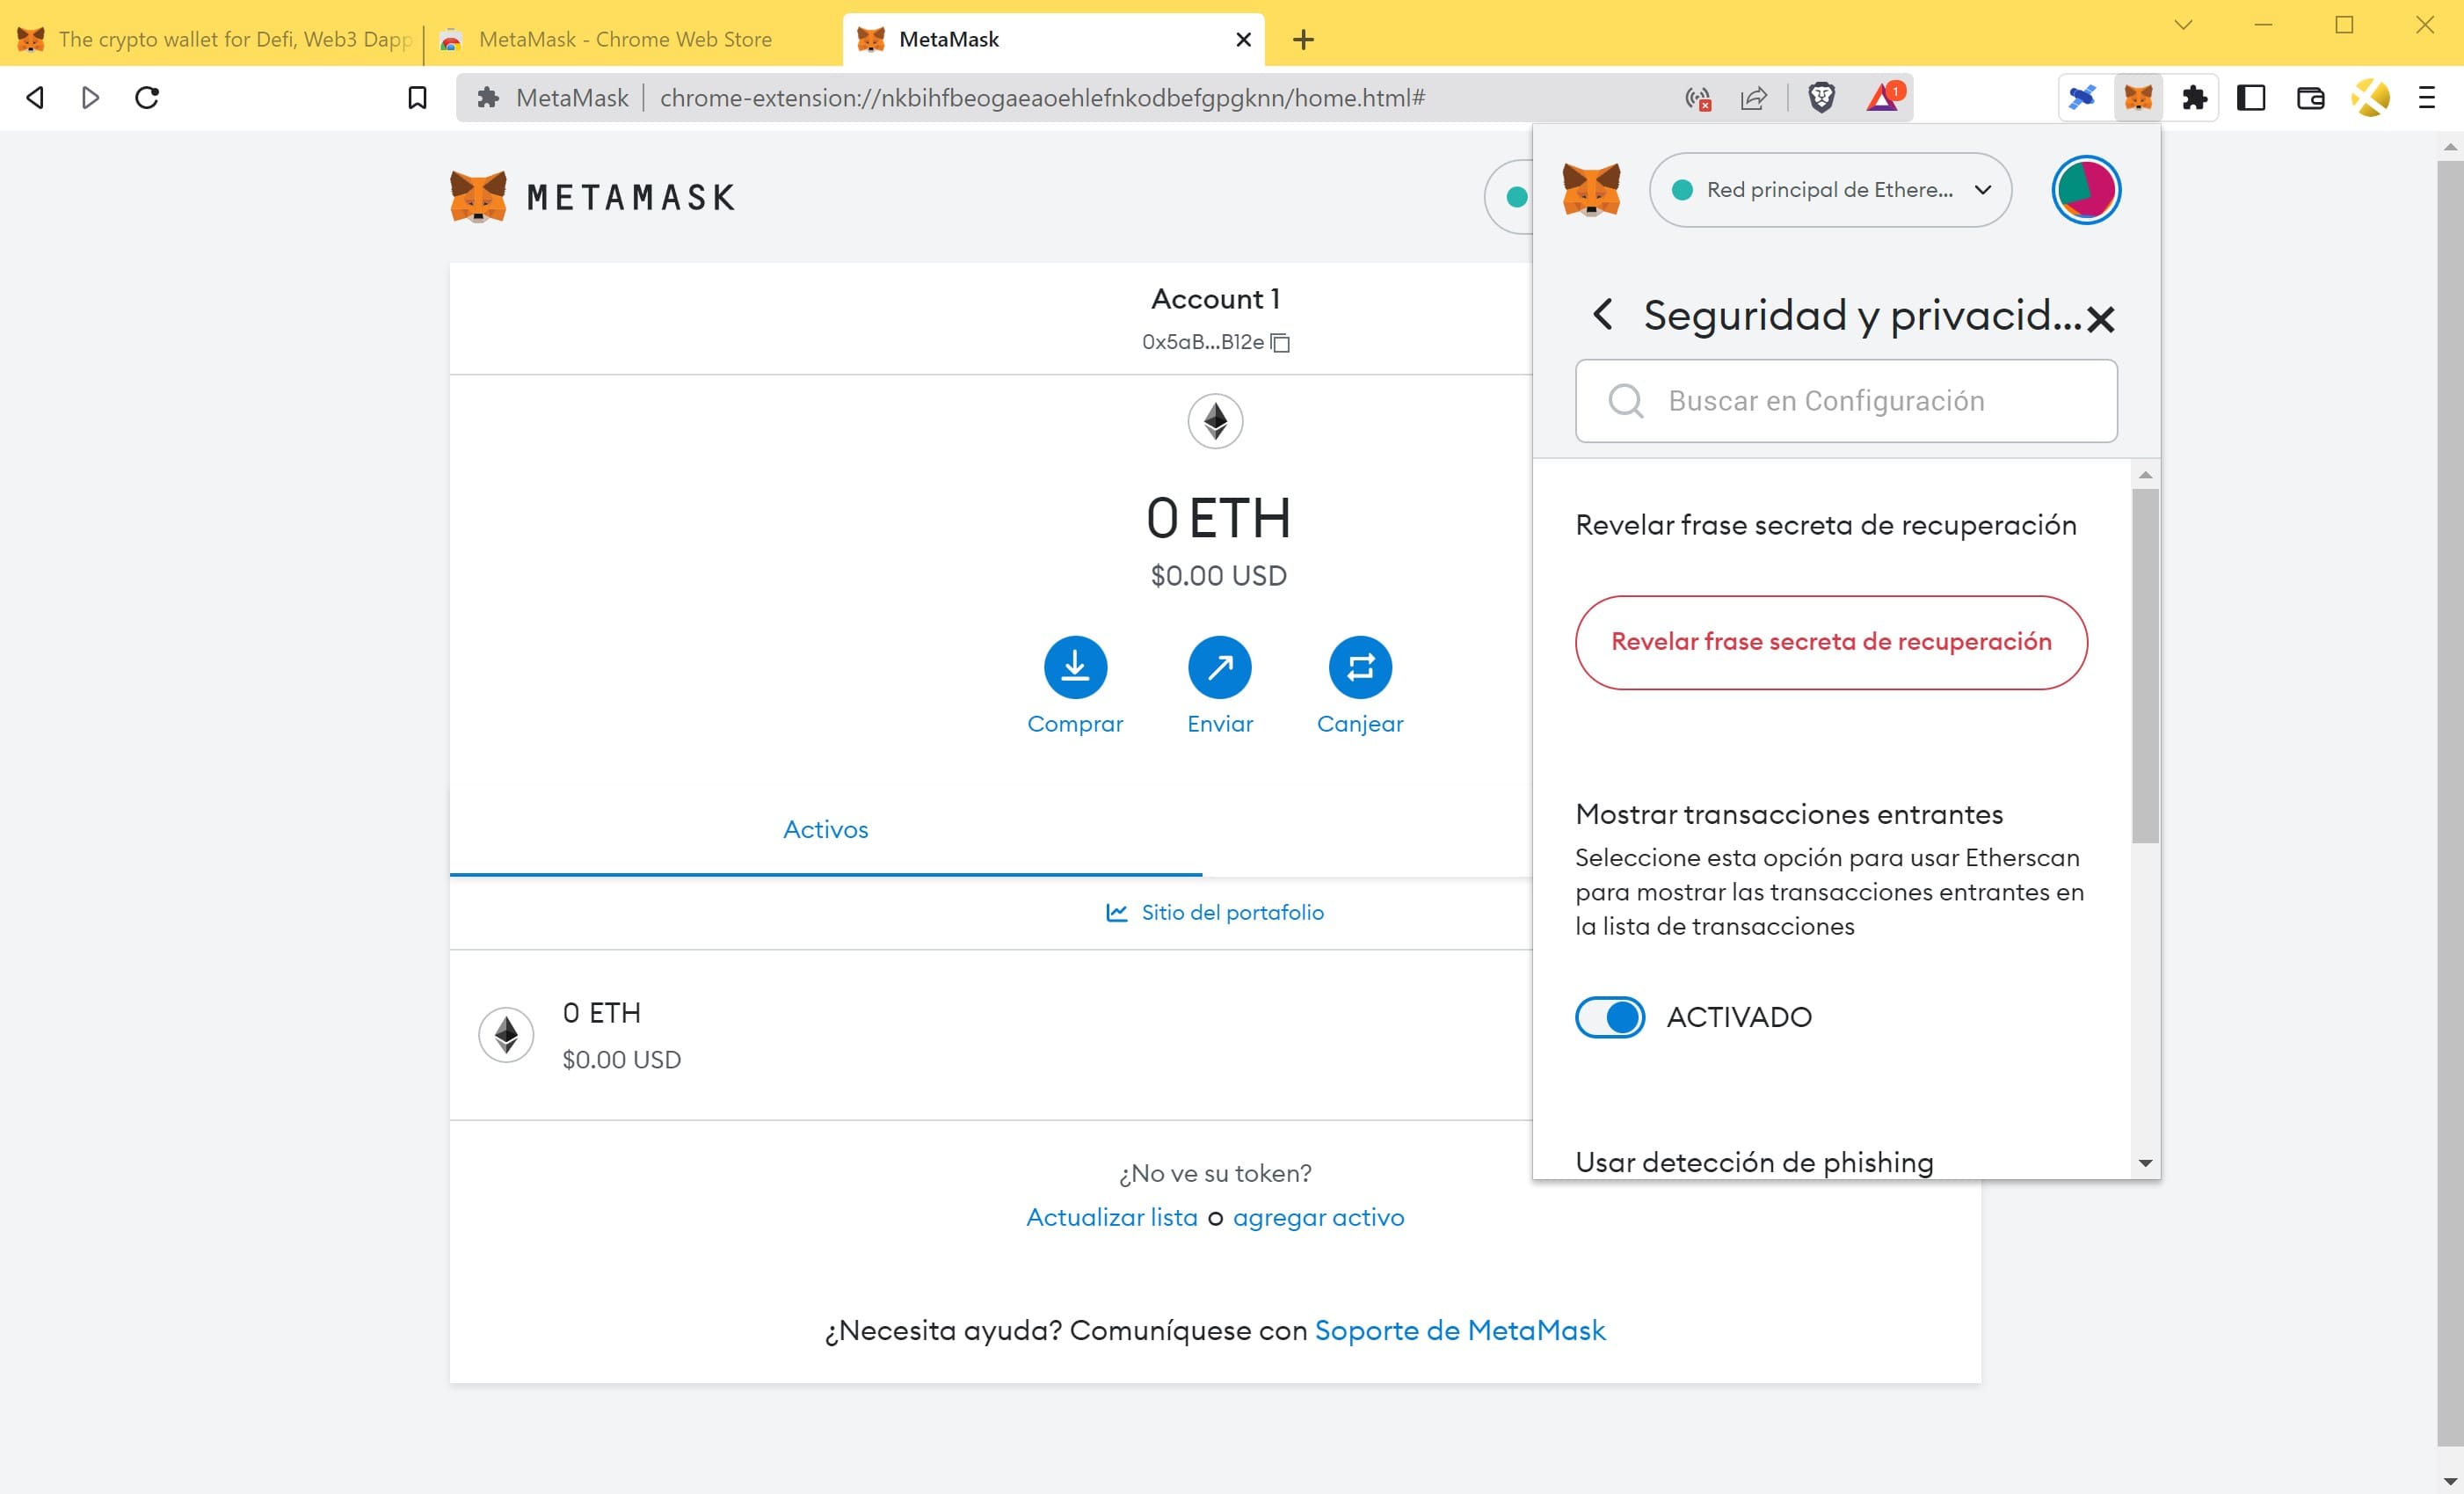
Step 4. Click on “Security and privacy“.
Step 5. The first option that appears is “Reveal secret recovery phrase“.
Step 6. We get a warning and we are asked for the password.
Step 7. Shows us the words of the seed phrase.
Paso 8. Write them down in the correct order, numbering them to avoid mistakes. Double or triple check and, when you are sure you are 100% done, click Close.
Now it is time to engrave them on our Material DIY wallet!
Need help? Leave us your question
To receive immediate help from our community at any time, please join our Telegram group.